Introduction
This project focused on implementing perspective image warping and mosaicing to create panoramic images from multiple images. This was accomplished by computing the homographies between images, warping said images, and then blending them together into panoramas. Through this project, we gained practical experience with concepts in linear algebra, computational photography and computer vision, learning how to make our own panoramic images from scratch.
Starting Images
Implementation
To begin, we needed to go out and take photos such that we could compute the homographies between images in a set. A perspective transform or a homography relates two images when they have a shared center of projection. In practice this means taking photos of a scene from the same exact position, only changing the pitch and yaw along the axis of rotations of the camera.
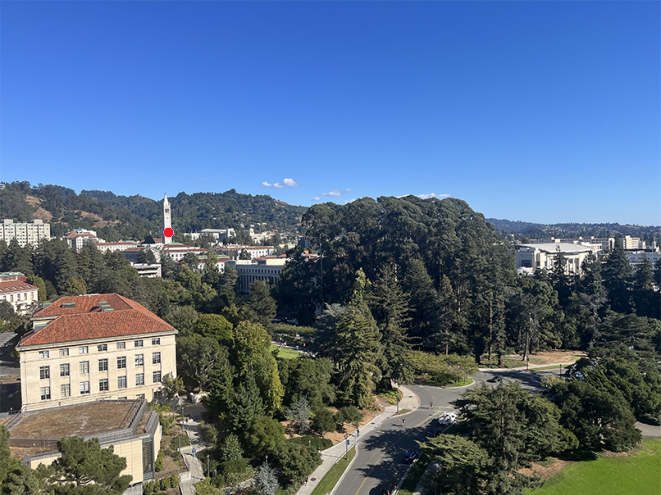
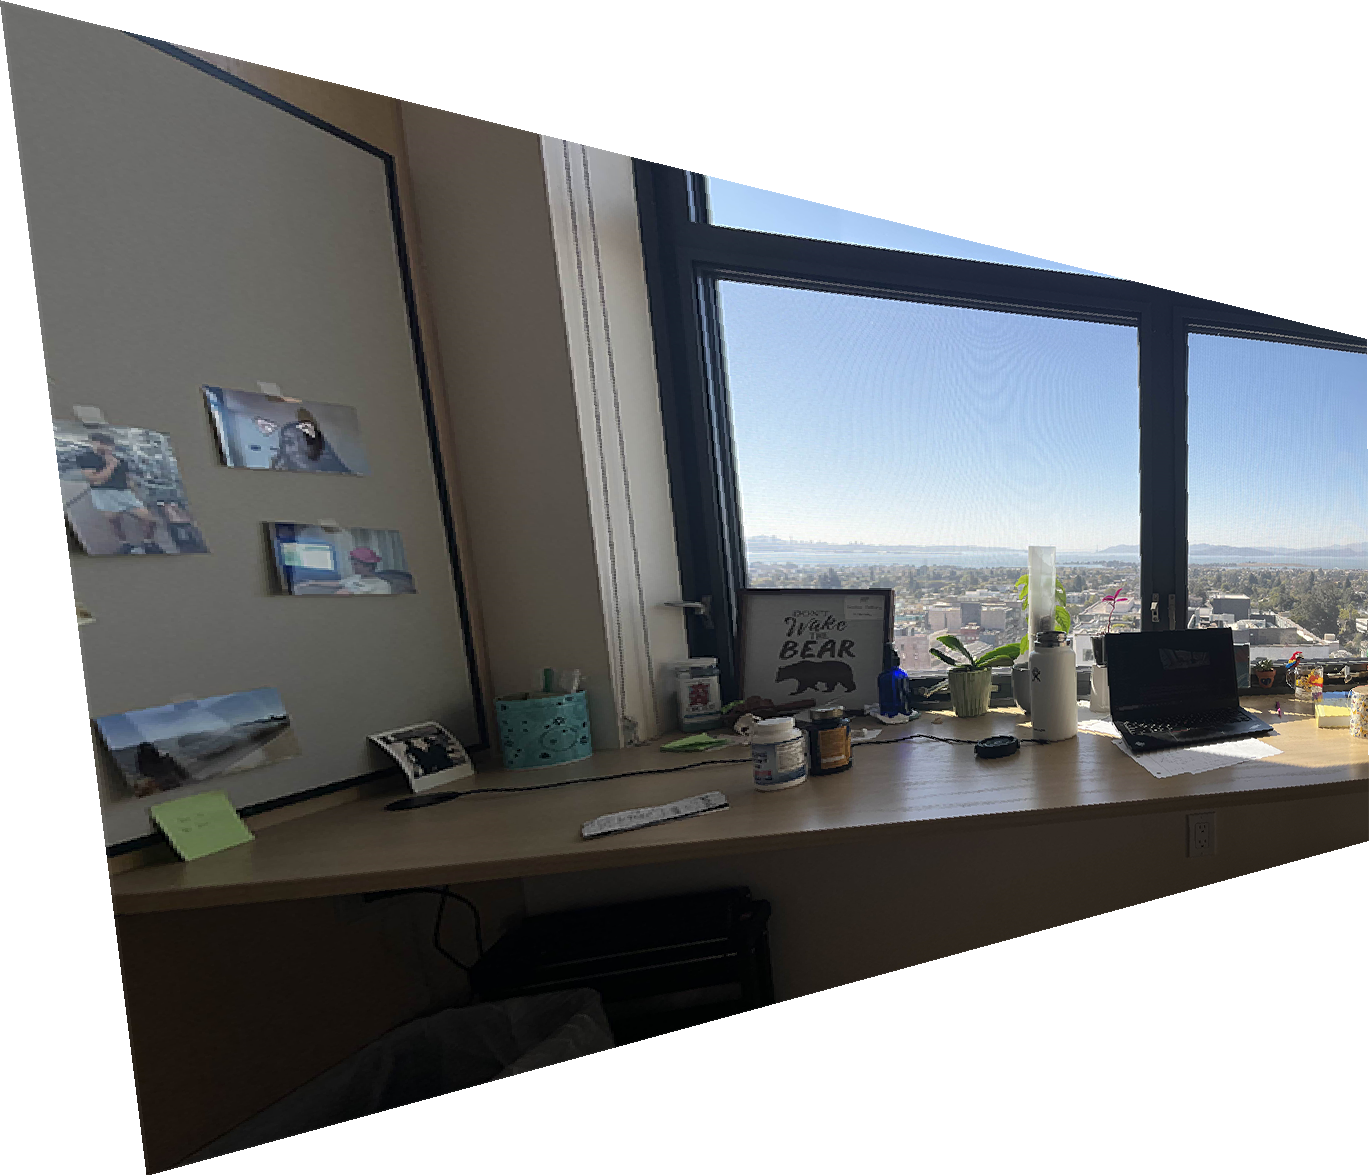
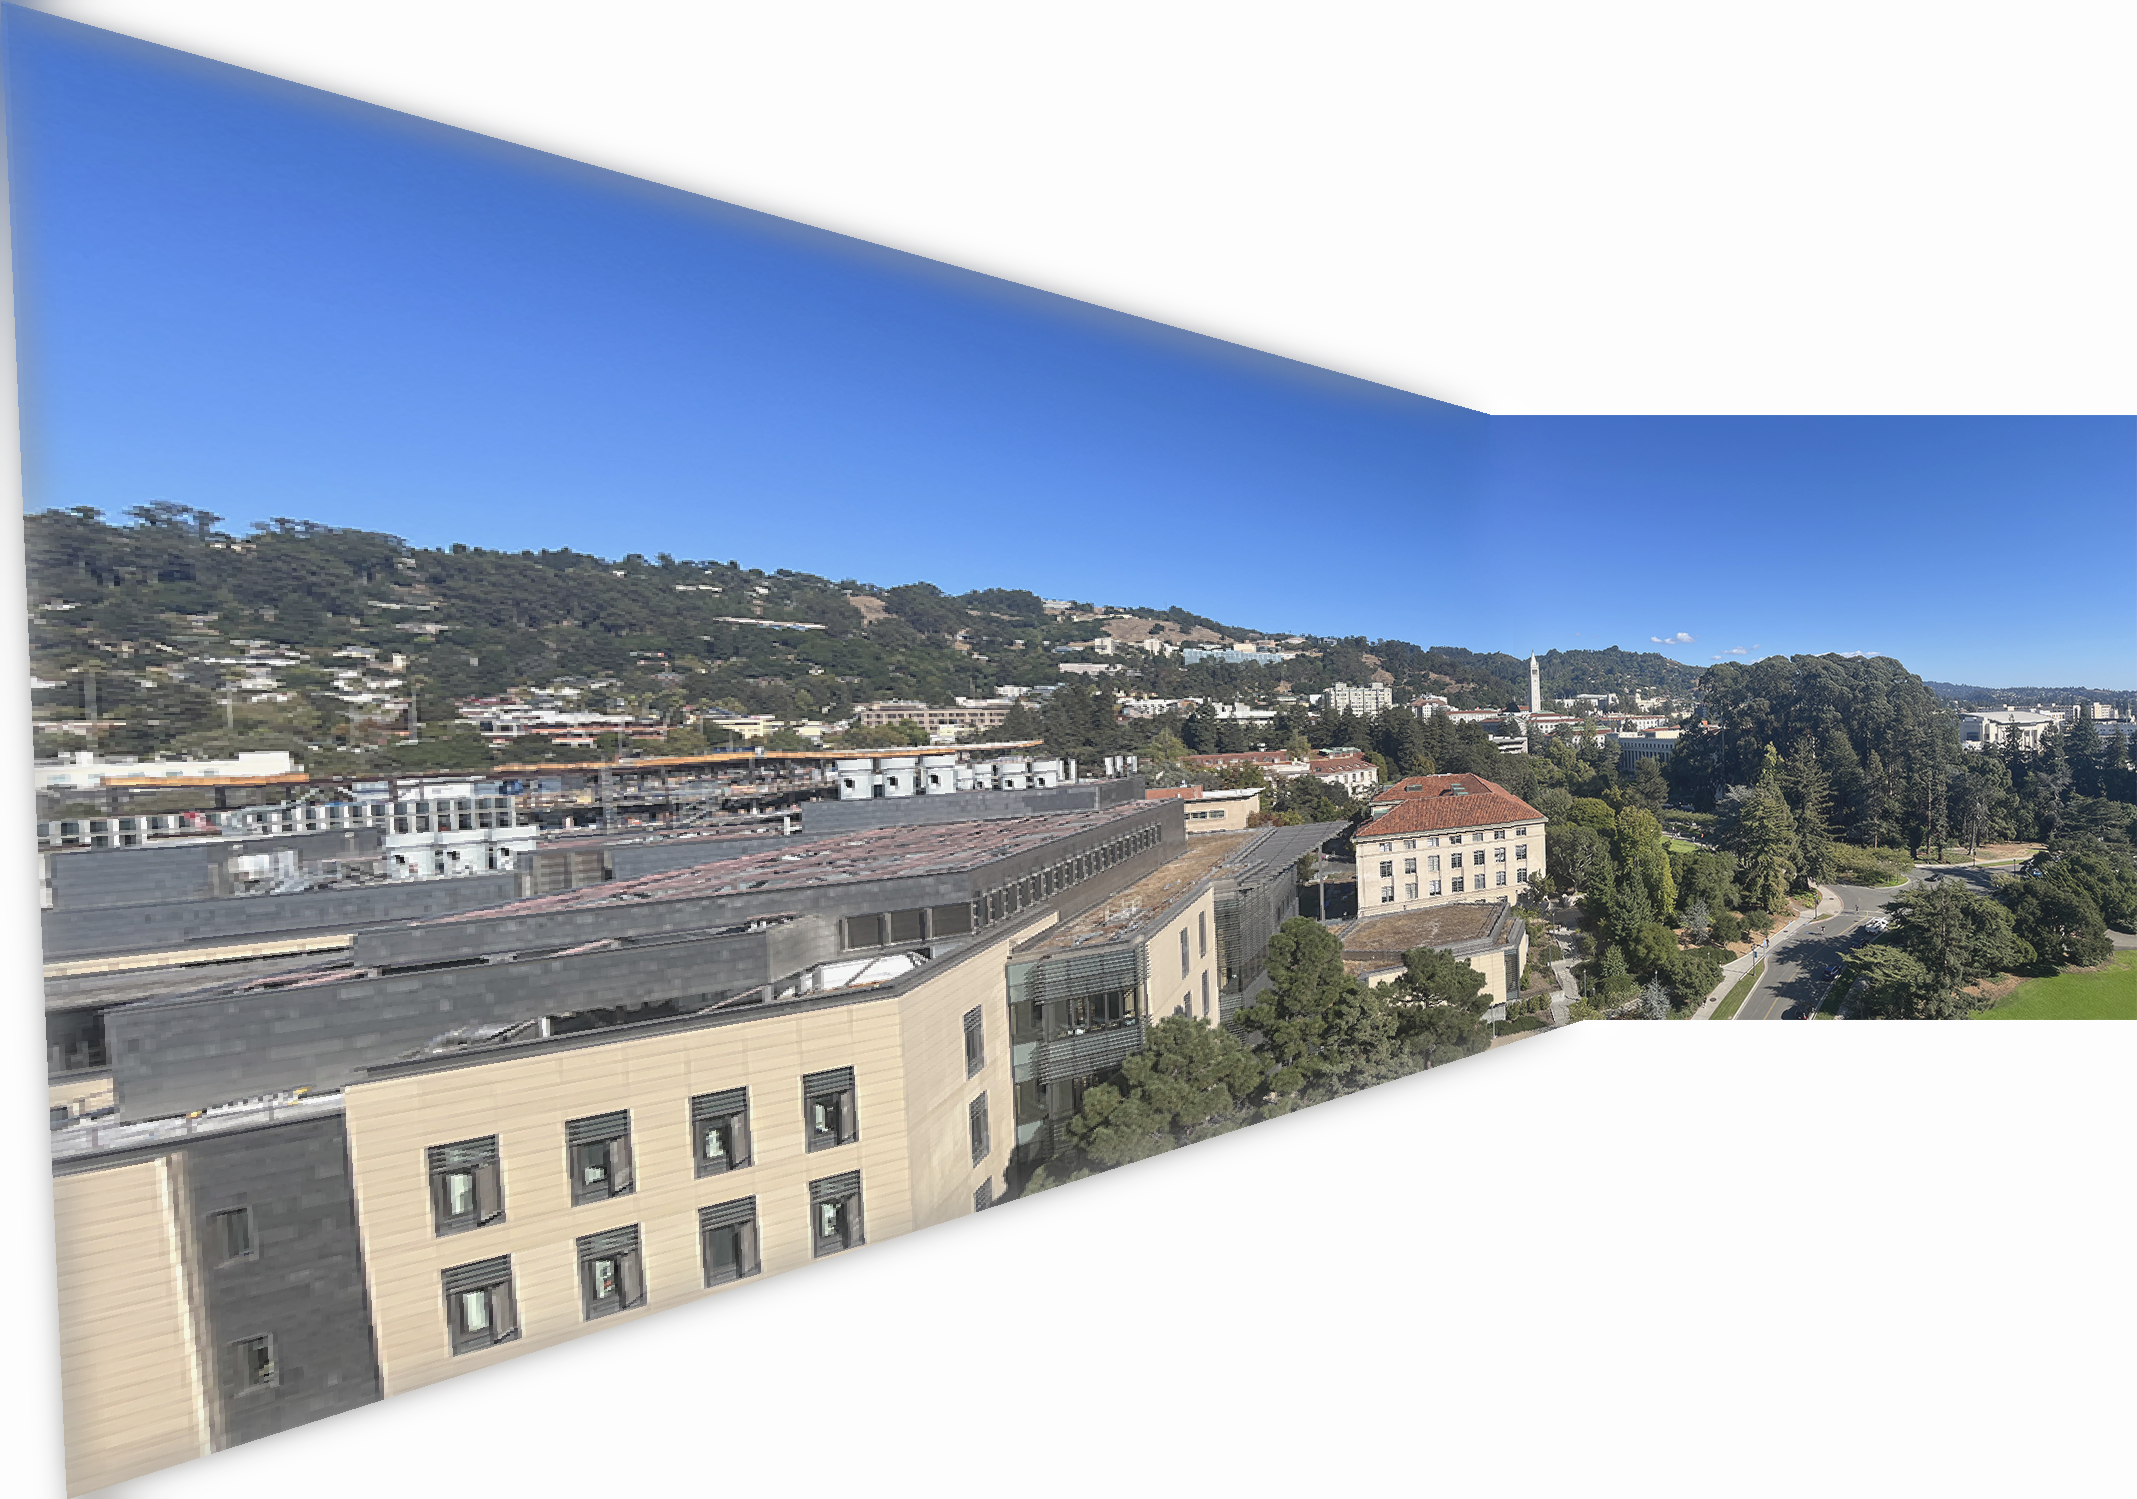
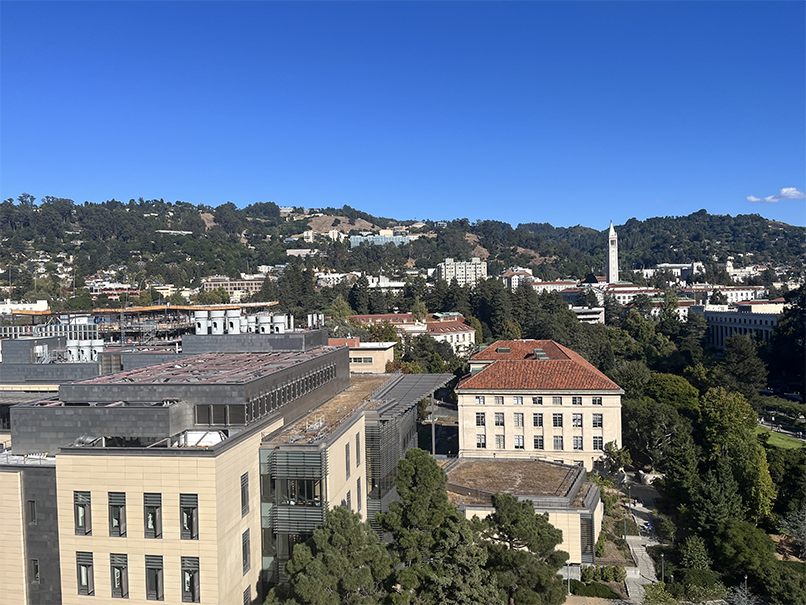
Here we capture some photos of Cal, the bay, and the cluttered desk I sit at now.
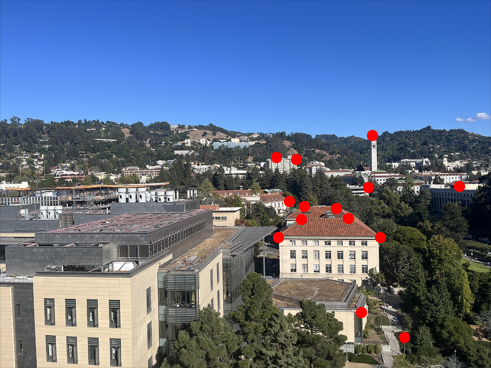
Left Image of Cal

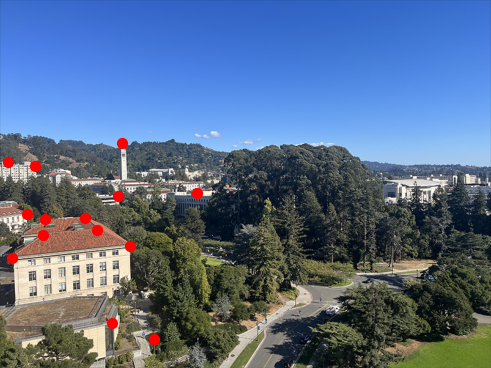
Right Image of Cal
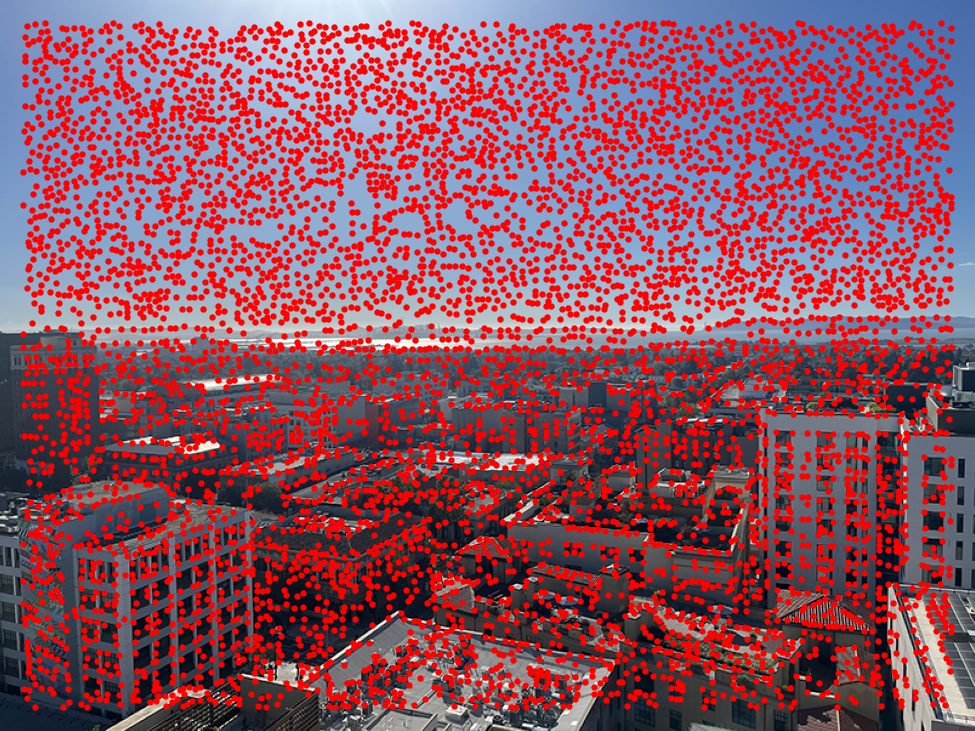
Left Image of San Francisco with Keypoints
Right Image of San Francisco with Keypoints
Left Desk Image with Triangulation
Right Desk Image with Triangulation
Recovering Homographies
Mathematical Foundation
A homography is a projective transformation that maps points from one plane to another. In the context of image processing, it allows us to relate two images of the same planar surface taken from different viewpoints. Mathematically, a homography $H$ is represented by a 3x3 matrix:
$$ H = \begin{bmatrix} h_{11} & h_{12} & h_{13} \\ h_{21} & h_{22} & h_{23} \\ h_{31} & h_{32} & h_{33} \end{bmatrix} $$This matrix has 9 elements, but because it is defined up to a scale factor, it effectively has 8 degrees of freedom. Given a point $(x, y)$ in the first image and its corresponding point $(x', y')$ in the second image, the homography relation can be expressed as:
$$ \begin{bmatrix} wx' \\ wy' \\ w \end{bmatrix} = H \begin{bmatrix} x \\ y \\ 1 \end{bmatrix} $$$$x' = \frac{h_{11}x + h_{12}y + h_{13}}{h_{31}x + h_{32}y + h_{33}}$$ $$y' = \frac{h_{21}x + h_{22}y + h_{23}}{h_{31}x + h_{32}y + h_{33}}$$
Linear System Setup
To solve for the homography matrix, we rearrange these equations into a linear system. For each point correspondence, we get two equations:
$$x'(h_{31}x + h_{32}y + h_{33}) = h_{11}x + h_{12}y + h_{13}$$ $$y'(h_{31}x + h_{32}y + h_{33}) = h_{21}x + h_{22}y + h_{23}$$These can be rewritten as:
$$ \begin{bmatrix} x & y & 1 & 0 & 0 & 0 & -xx' & -yx' & -x' \\ 0 & 0 & 0 & x & y & 1 & -xy' & -yy' & -y' \end{bmatrix} \begin{bmatrix} h_{11} \\ h_{12} \\ h_{13} \\ h_{21} \\ h_{22} \\ h_{23} \\ h_{31} \\ h_{32} \\ h_{33} \end{bmatrix} = \begin{bmatrix} 0 \\ 0 \end{bmatrix} $$Implementation
The compute_homography function in warp_img.py implements this process by setting up the system of linear equations $Ah = 0$, where $A$ is the matrix of coefficients from the equations above, and $h$ is the vector of homography matrix elements.
With 4 point correspondences, we get 8 equations, which is sufficient to solve for the 8 degrees of freedom in the homography matrix. However, to improve robustness, we typically use more than 4 points and solve the overdetermined system using the least squares method.
This is just a call to np.linalg.lstsq.
Results
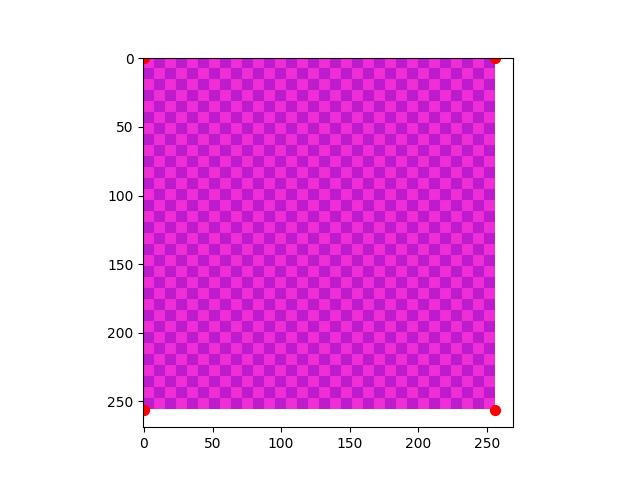
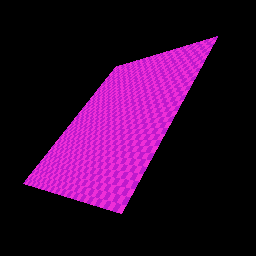
We illustrate the effect of a perspective transform on a grid. The right image was create with the help of Photoshop's perspective warp tool. Applying the homography to the grid indeed gives us the same perspective transformed grid.

Original Grid
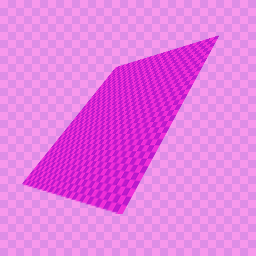
Perspective Transformed Grid
Grid with Point Correspondences
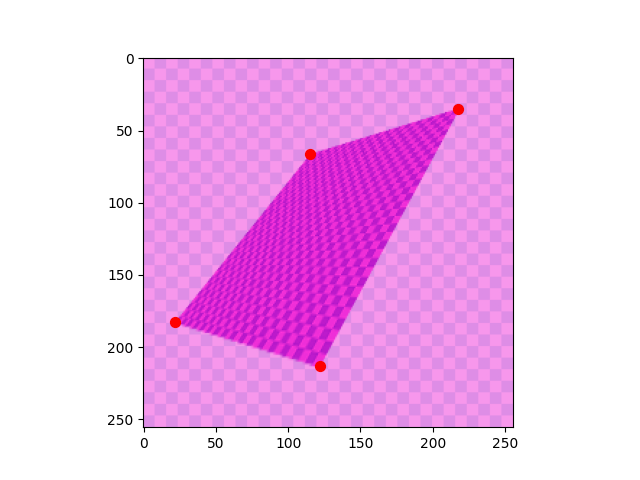
Transformed Grid with Point Correspondences
Warped Image Result
Image Warping
Implementation
Once the homography is computed, we want to warp one image to align with another in the same image plane. The warp_image function in warp_img.py implements inverse warping for this purpose. It computes the inverse of the homography matrix and, for each pixel in the output image, calculates the corresponding location in the input image. To ensure all warped content is captured in the output image, we implement a helper method compute_warped_image_bb which calculates the bounding box and displacement of the warped image by transforming the corners of the original image.
Results
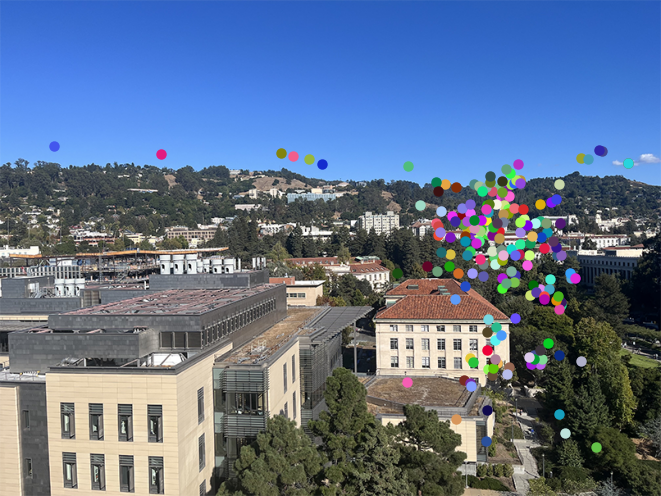
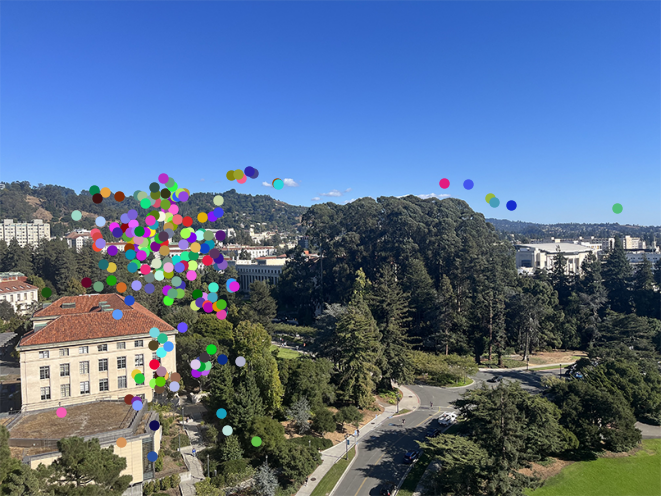
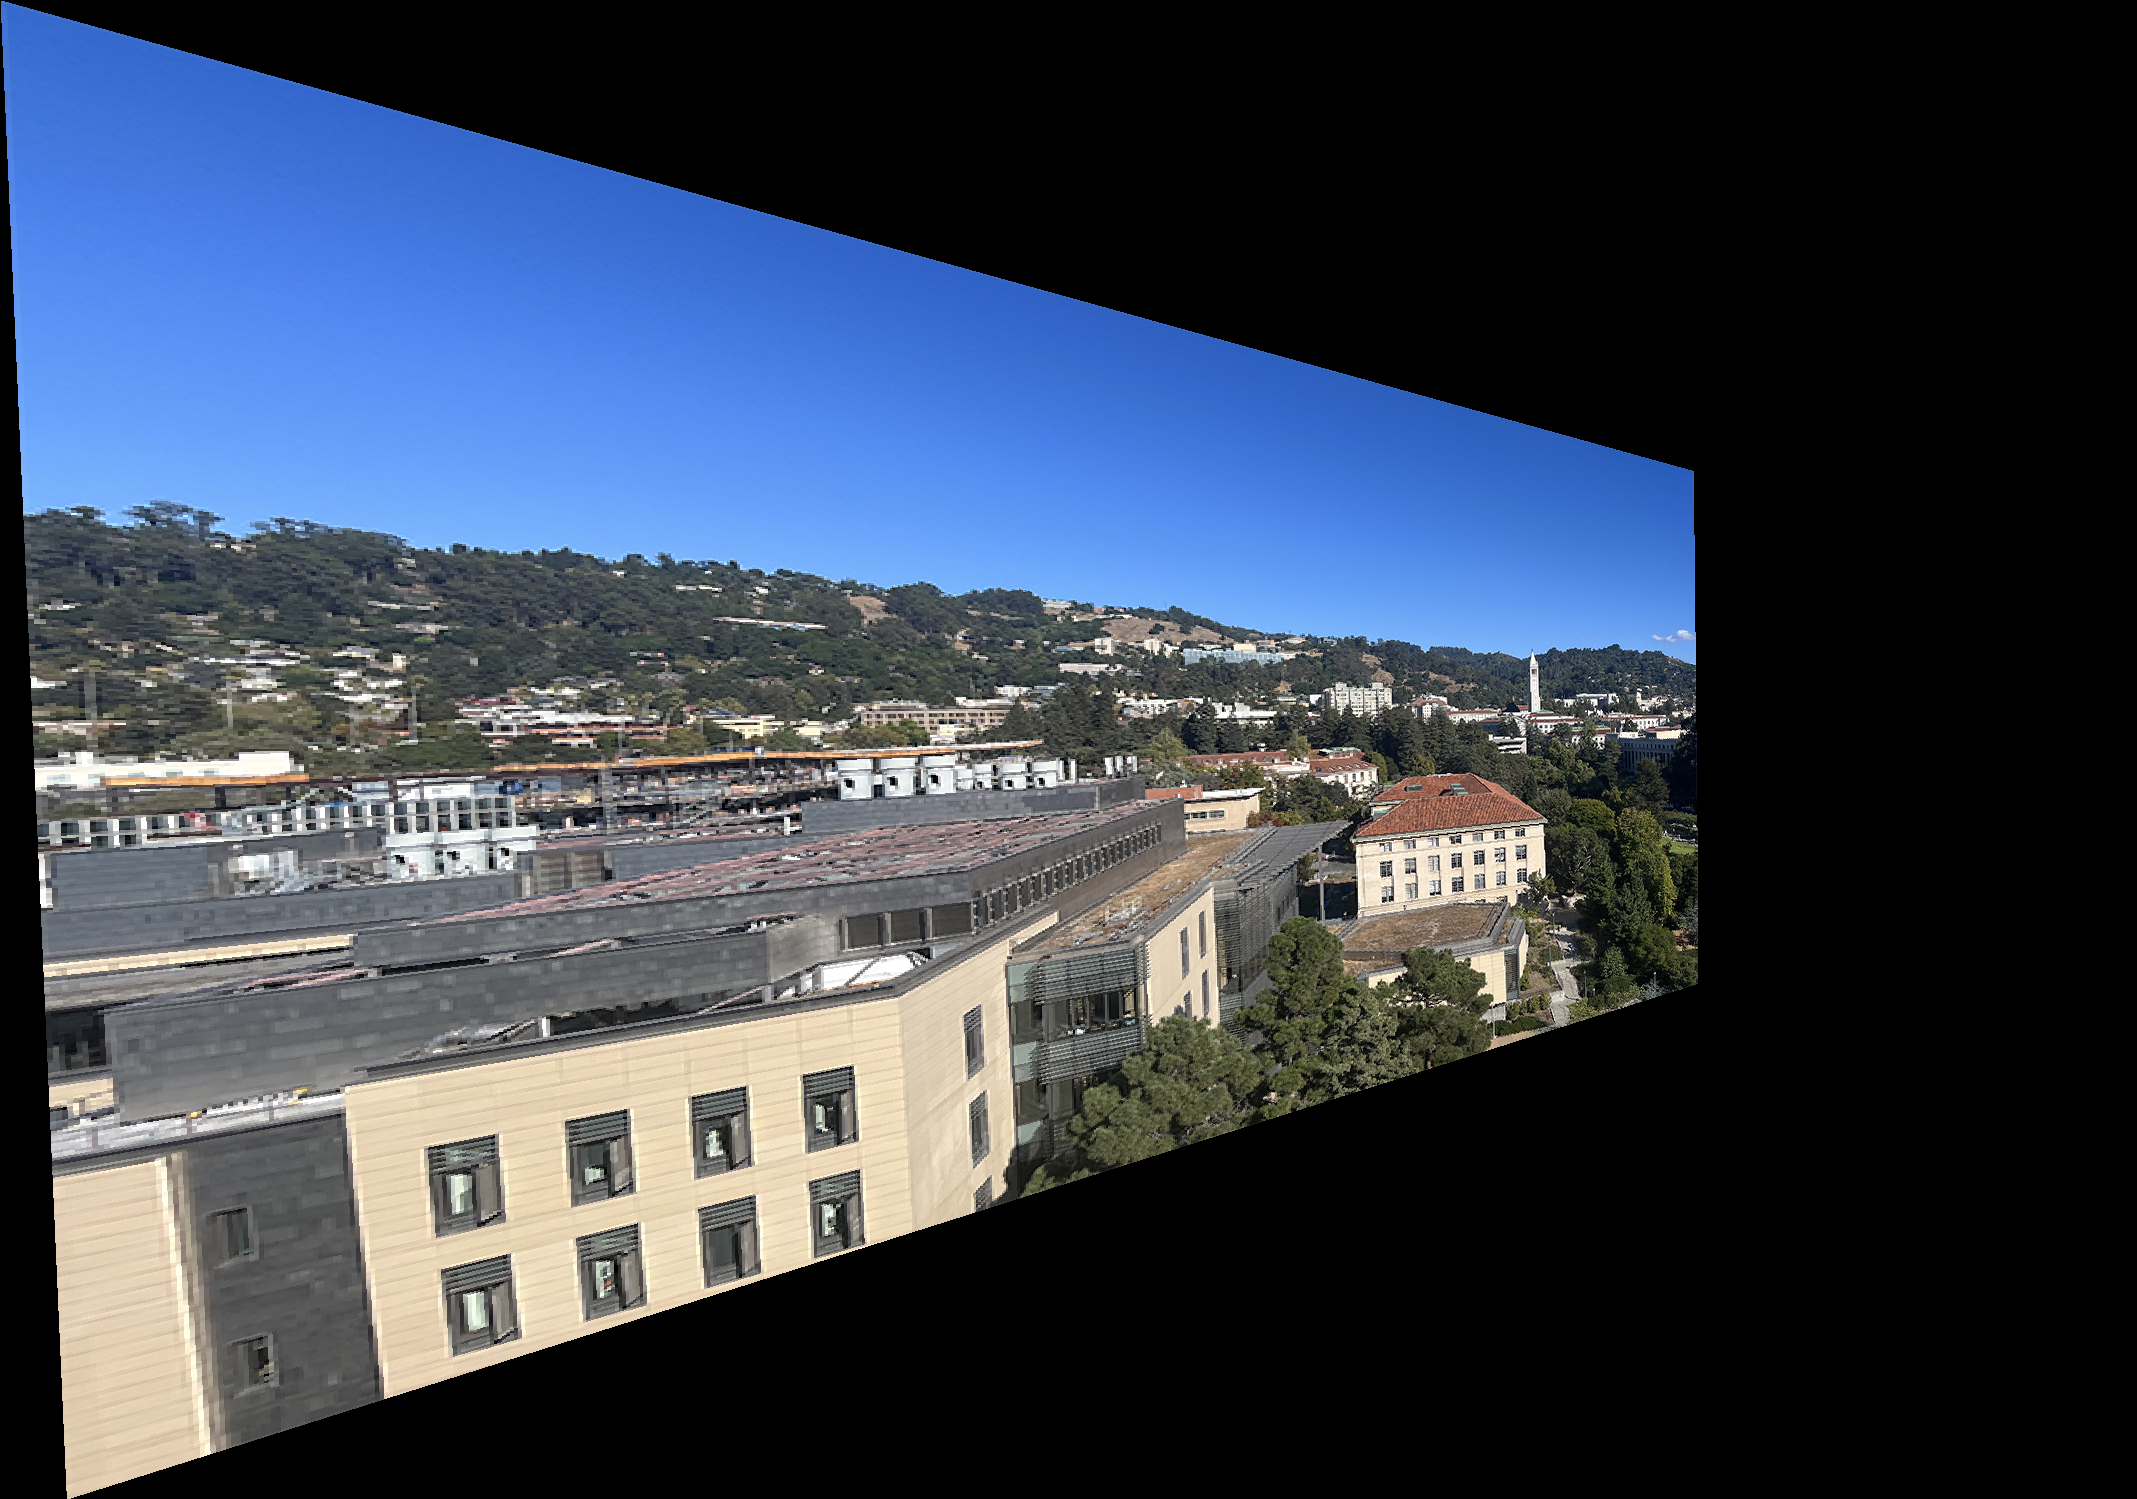
Left Cal Image with Points
Right Cal Image with Points
Warped Cal
Image Rectification
Implementation
Image rectification serves as a benchmark for the success of our homography calculations and image warping implementations. Our rectify_image function in rectify.py demonstrates this process by taking an input image, a set of points defining a rectangular object in the image, and the desired dimensions of the rectified object. It computes a homography between these points and a predefined rectangular grid, then applies this homography to warp the entire image. This process effectively simulates rotating the camera to point directly at the planar surface, removing perspective distortion. Successful rectification results in an image where the selected object appears as a rectangle, verifying that our homography and warping functions work.
Results

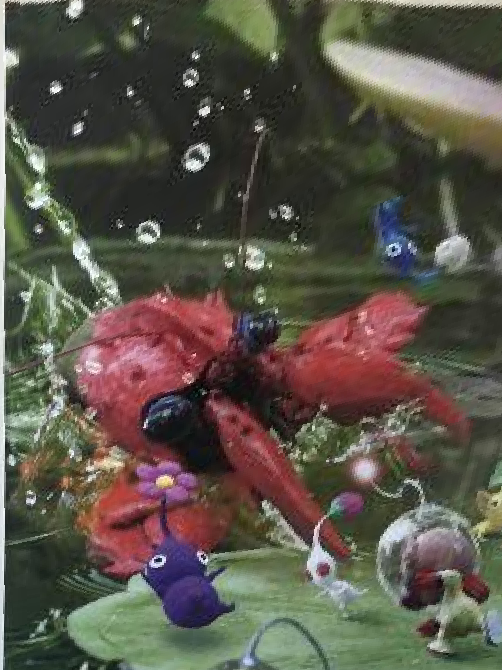
My Pikmin 2 Poster
Rectified Pikmin 2 Poster
An Insane Captcha
Rectified Insane Captcha
Blending and Mosaic Creation
Implementation
The ultimate goal of this project is to create panoramic images. With our successful implementation of image warping, the final step is to blend our warped images. The blend_images function in mosaic.py implements a simple blending technique. It creates a panorama canvas large enough to accommodate both images, places the second (unwarped) image onto the canvas, and then computes an average of the two images in the overlapping region.
The main function in mosaic.py outlines the overall mosaic creation process: first, it computes the homography between two images, then warps the first image to align with the second, and finally blends the warped image with the second image. While this approach produces a basic mosaic, it can result in some seams or ghosting artifacts when there are significant differences between images, like in lighting/exposure.
Results
Left Cal Panorama Image
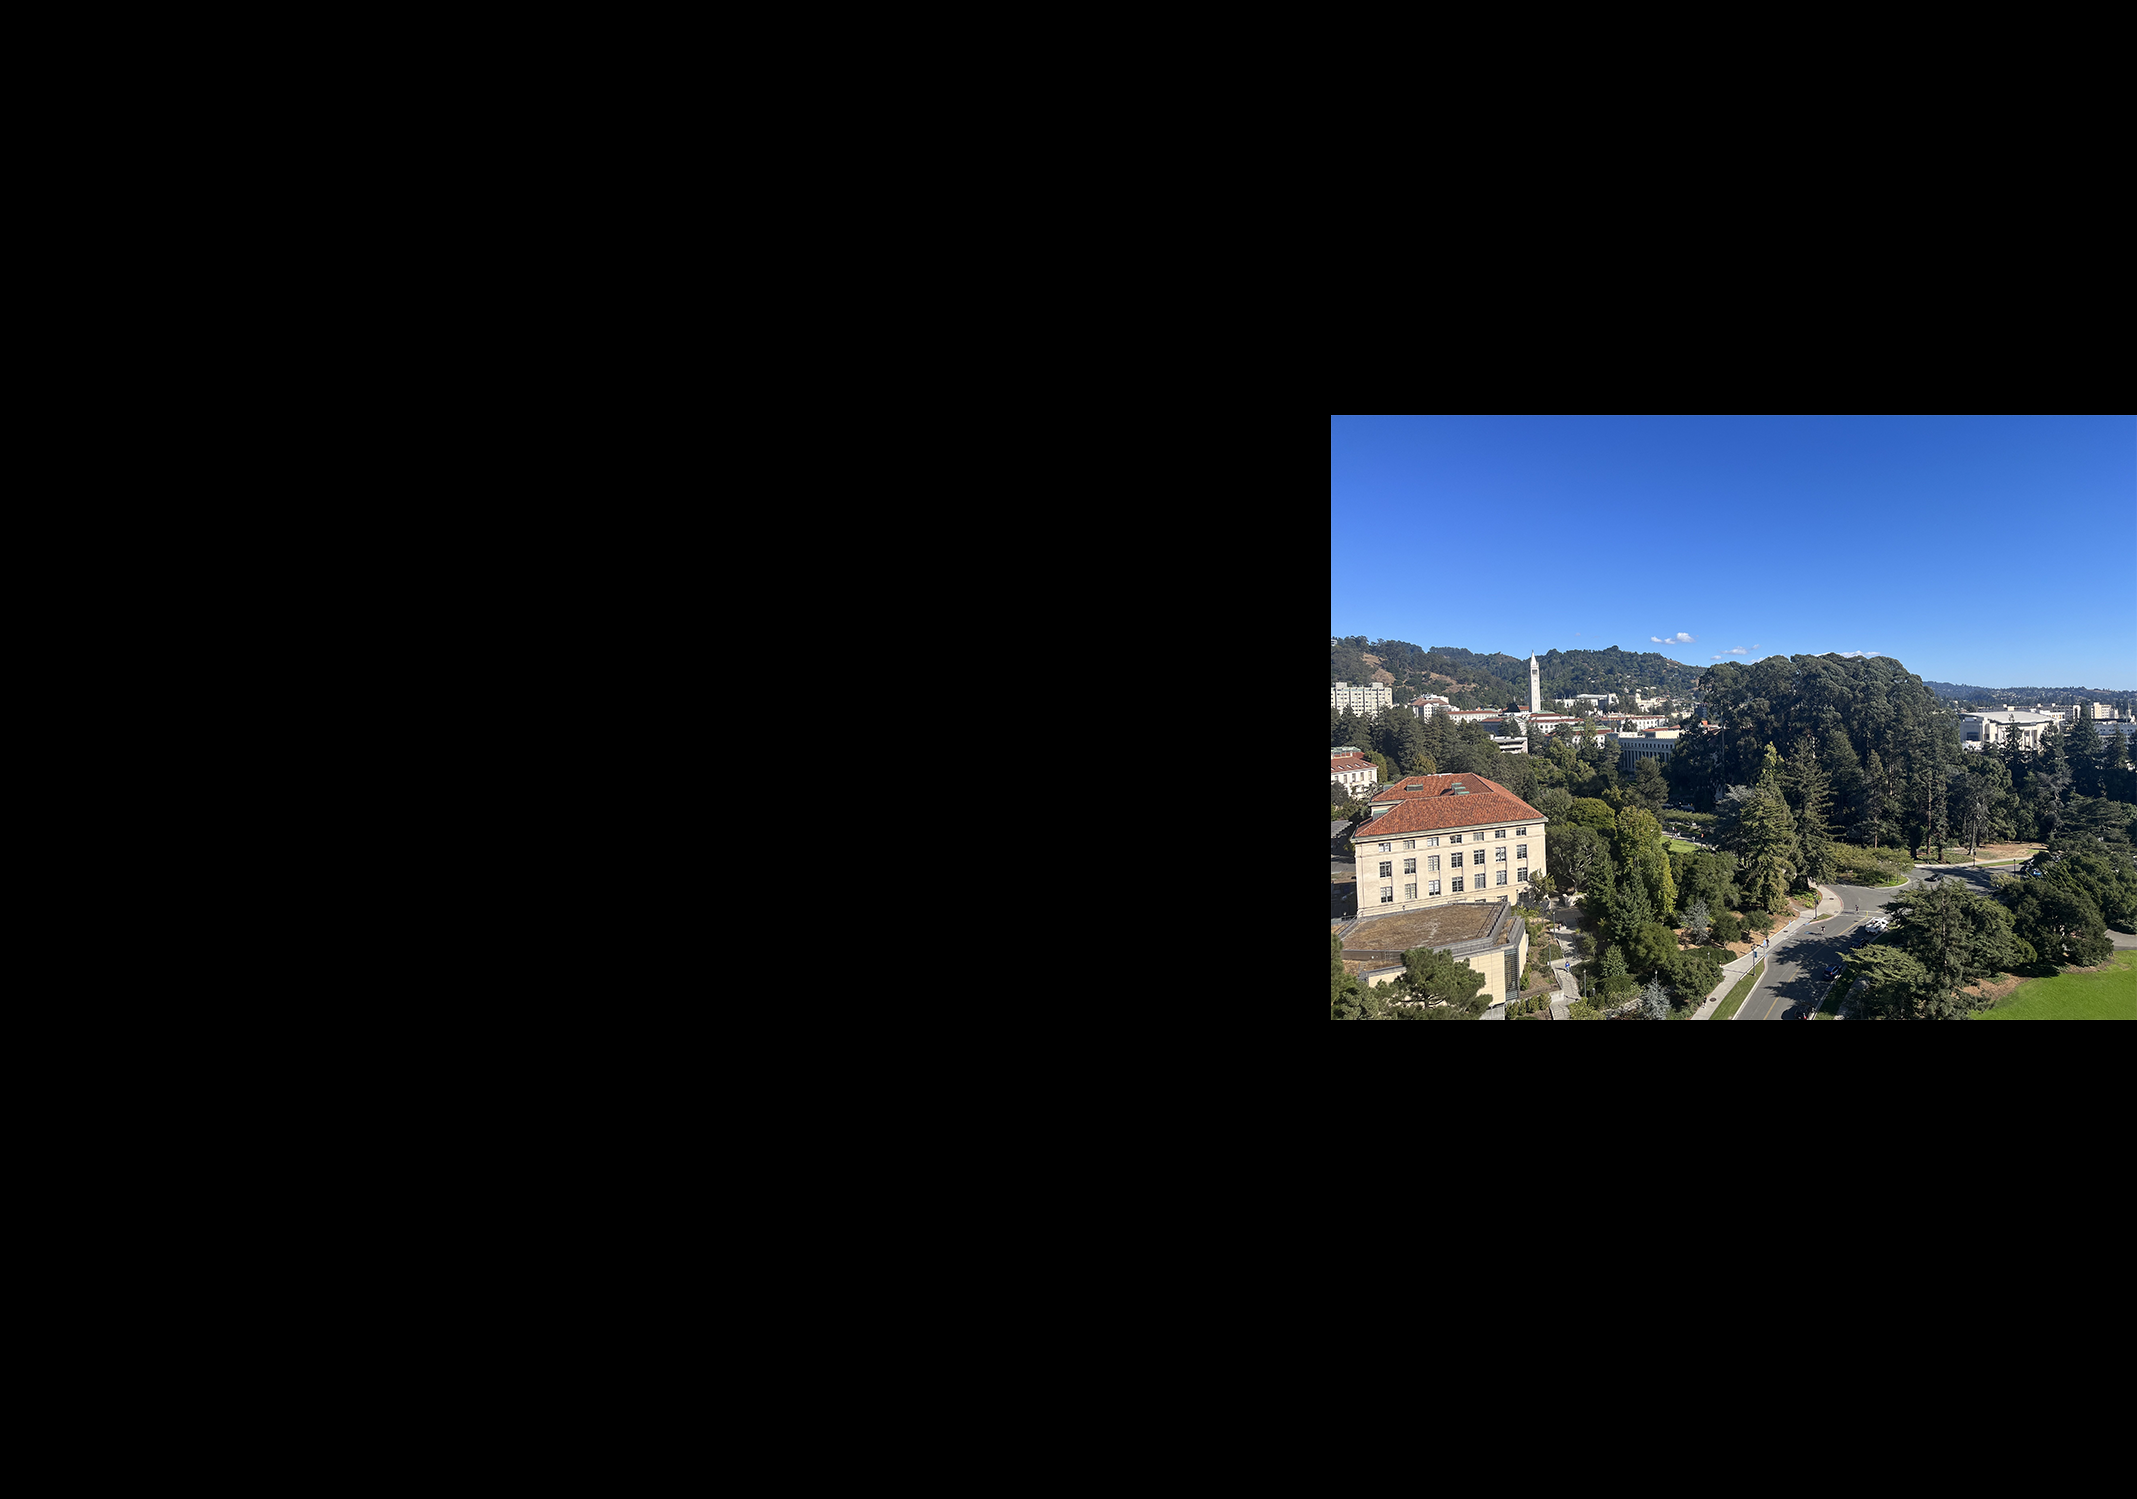
Right Cal Panorama Image

Left Cal Mask

Right Cal Mask
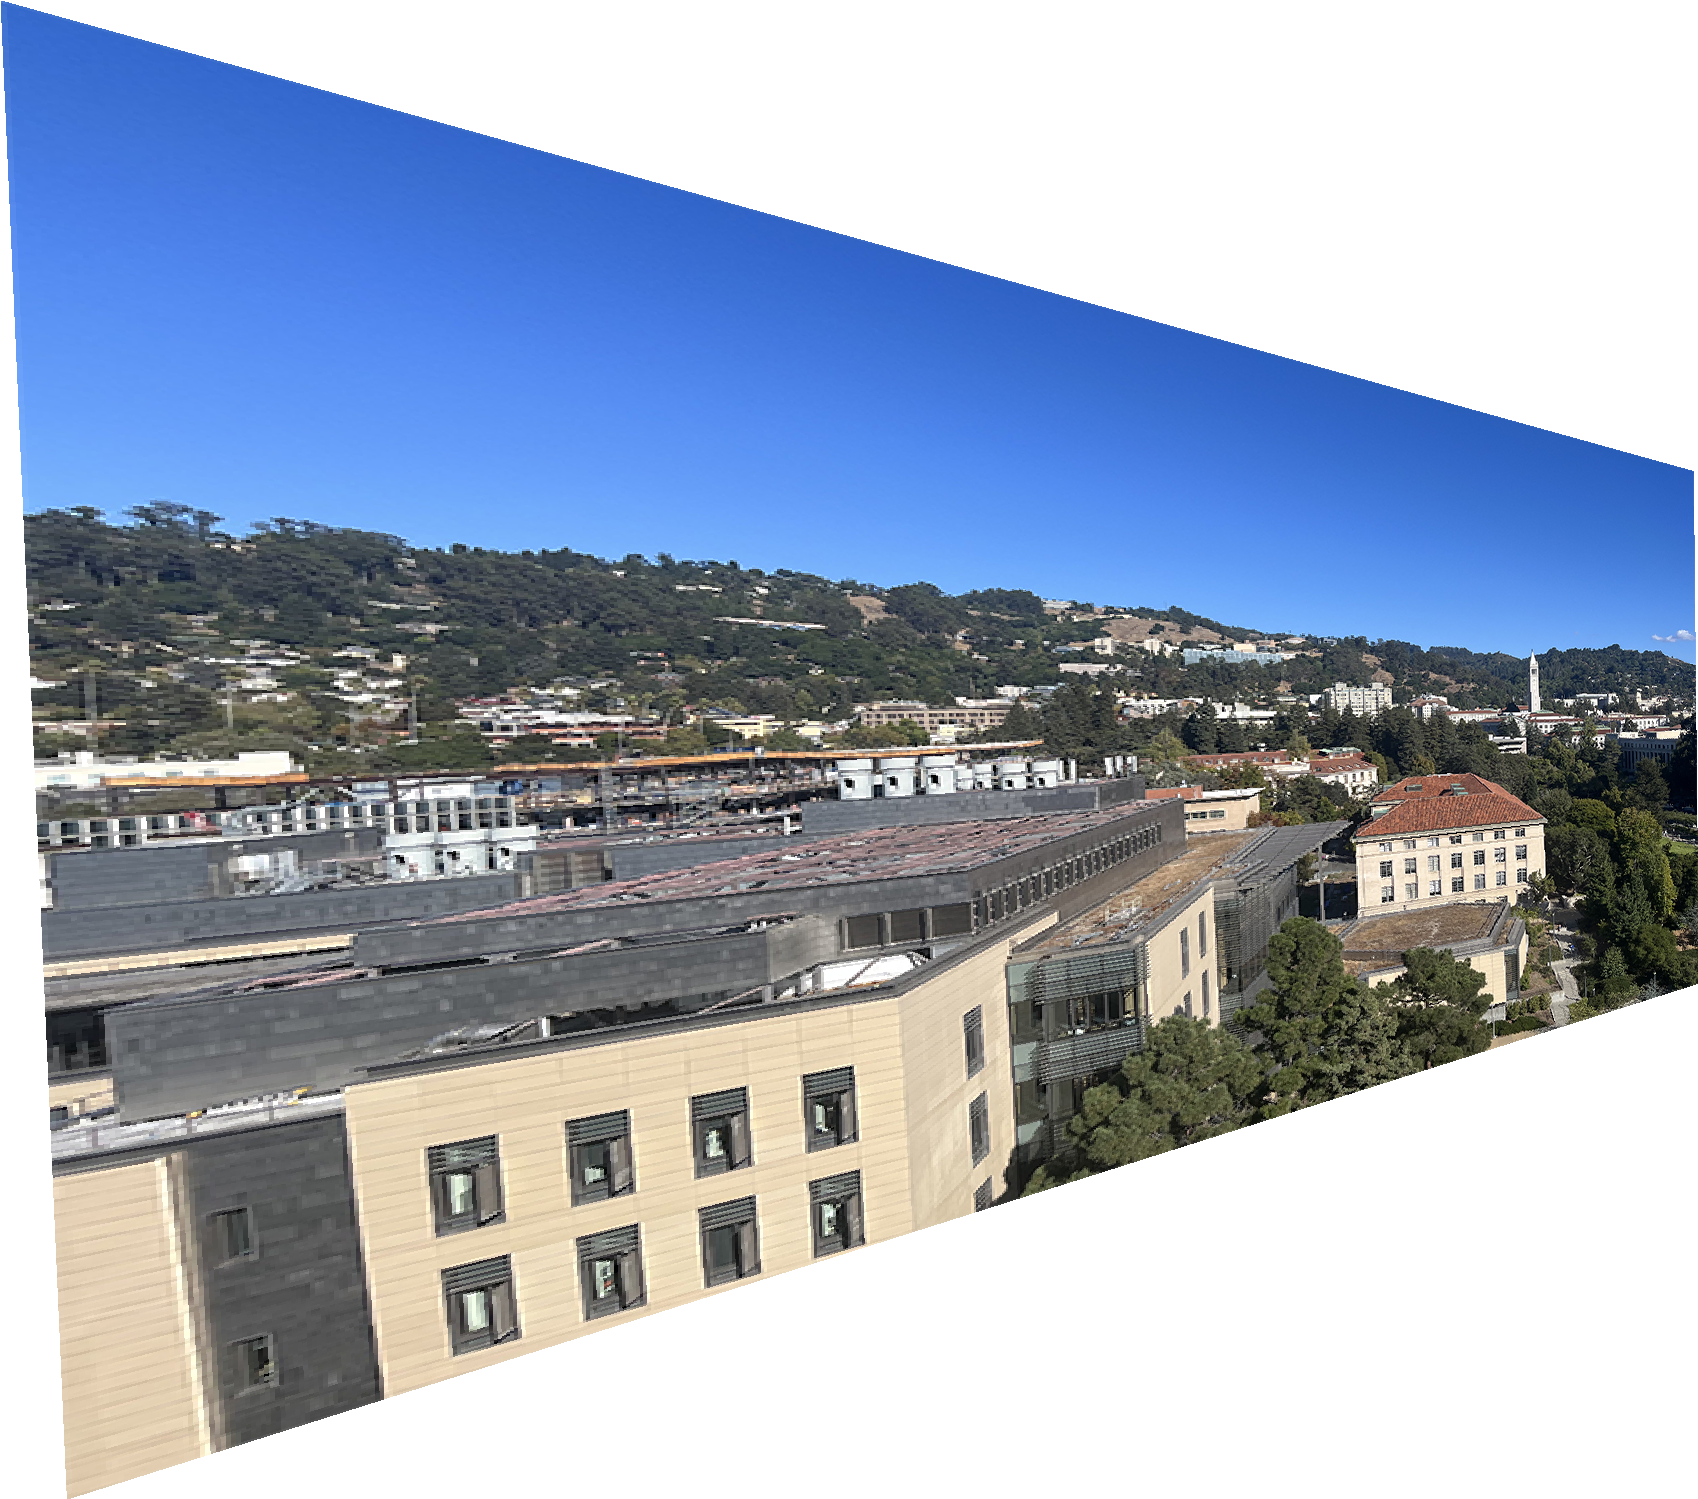
Cal Mosaic
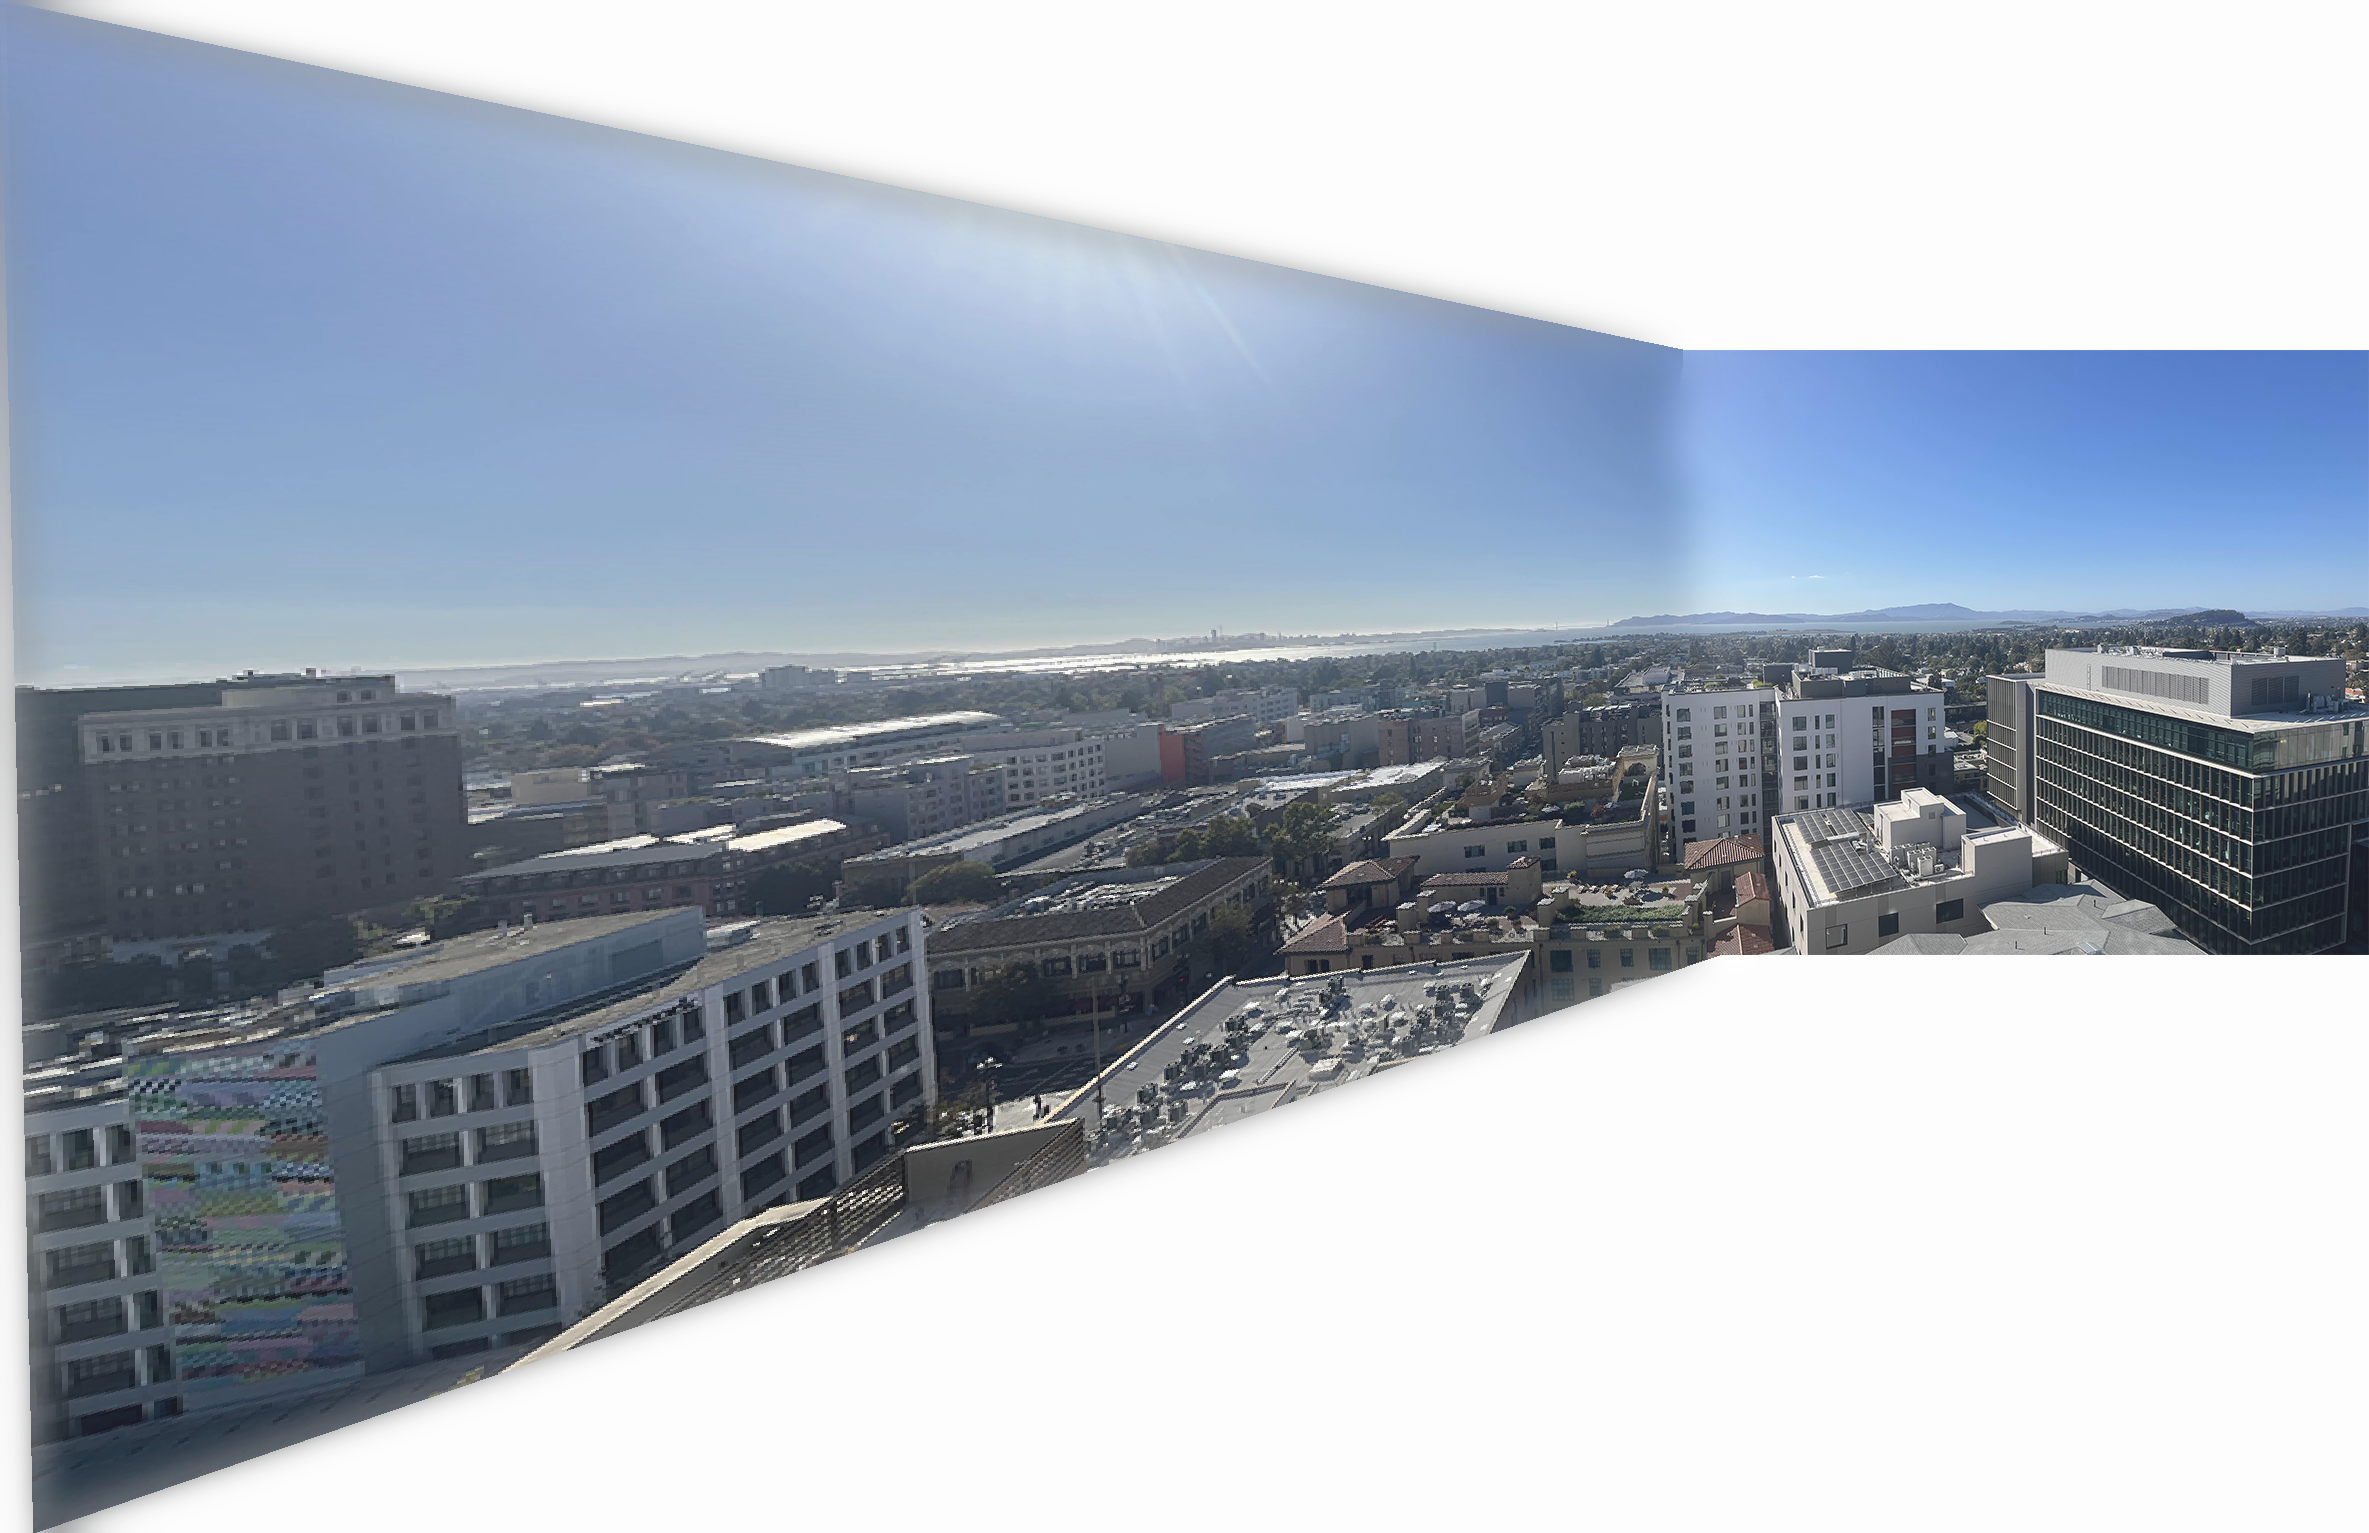
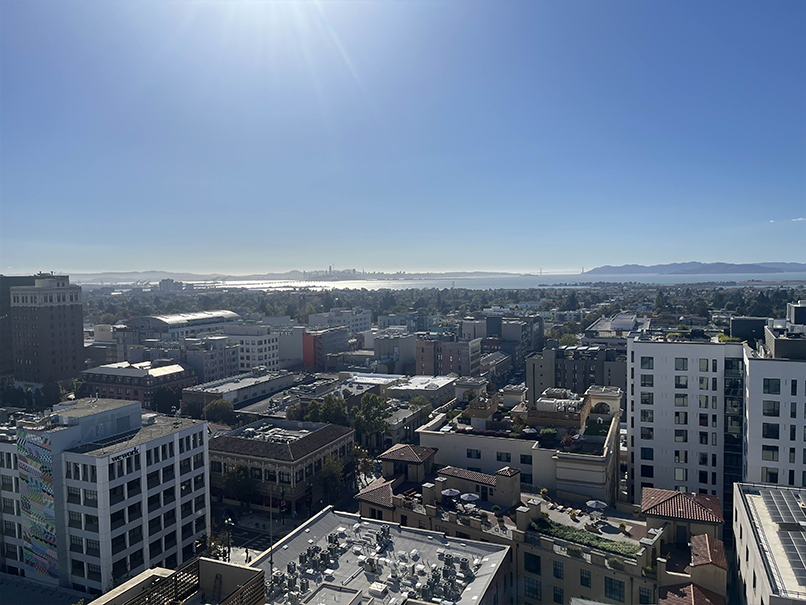
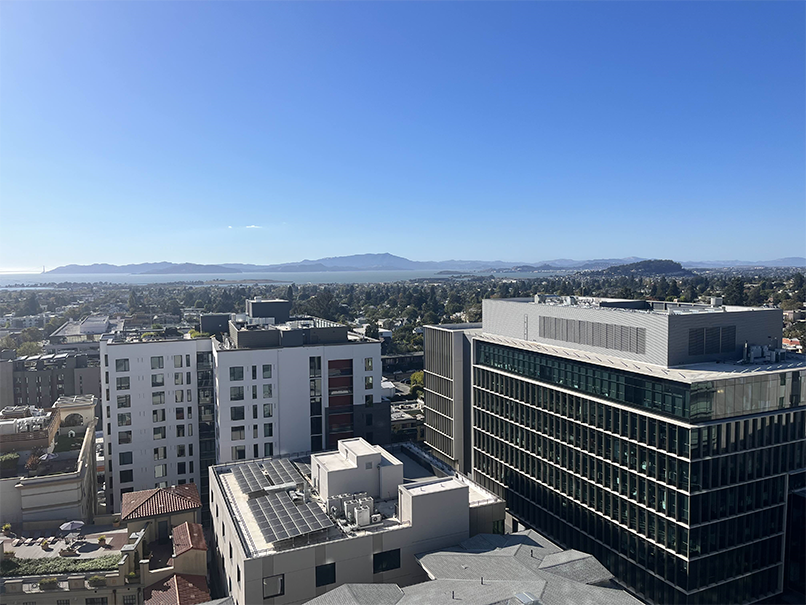
The Bay
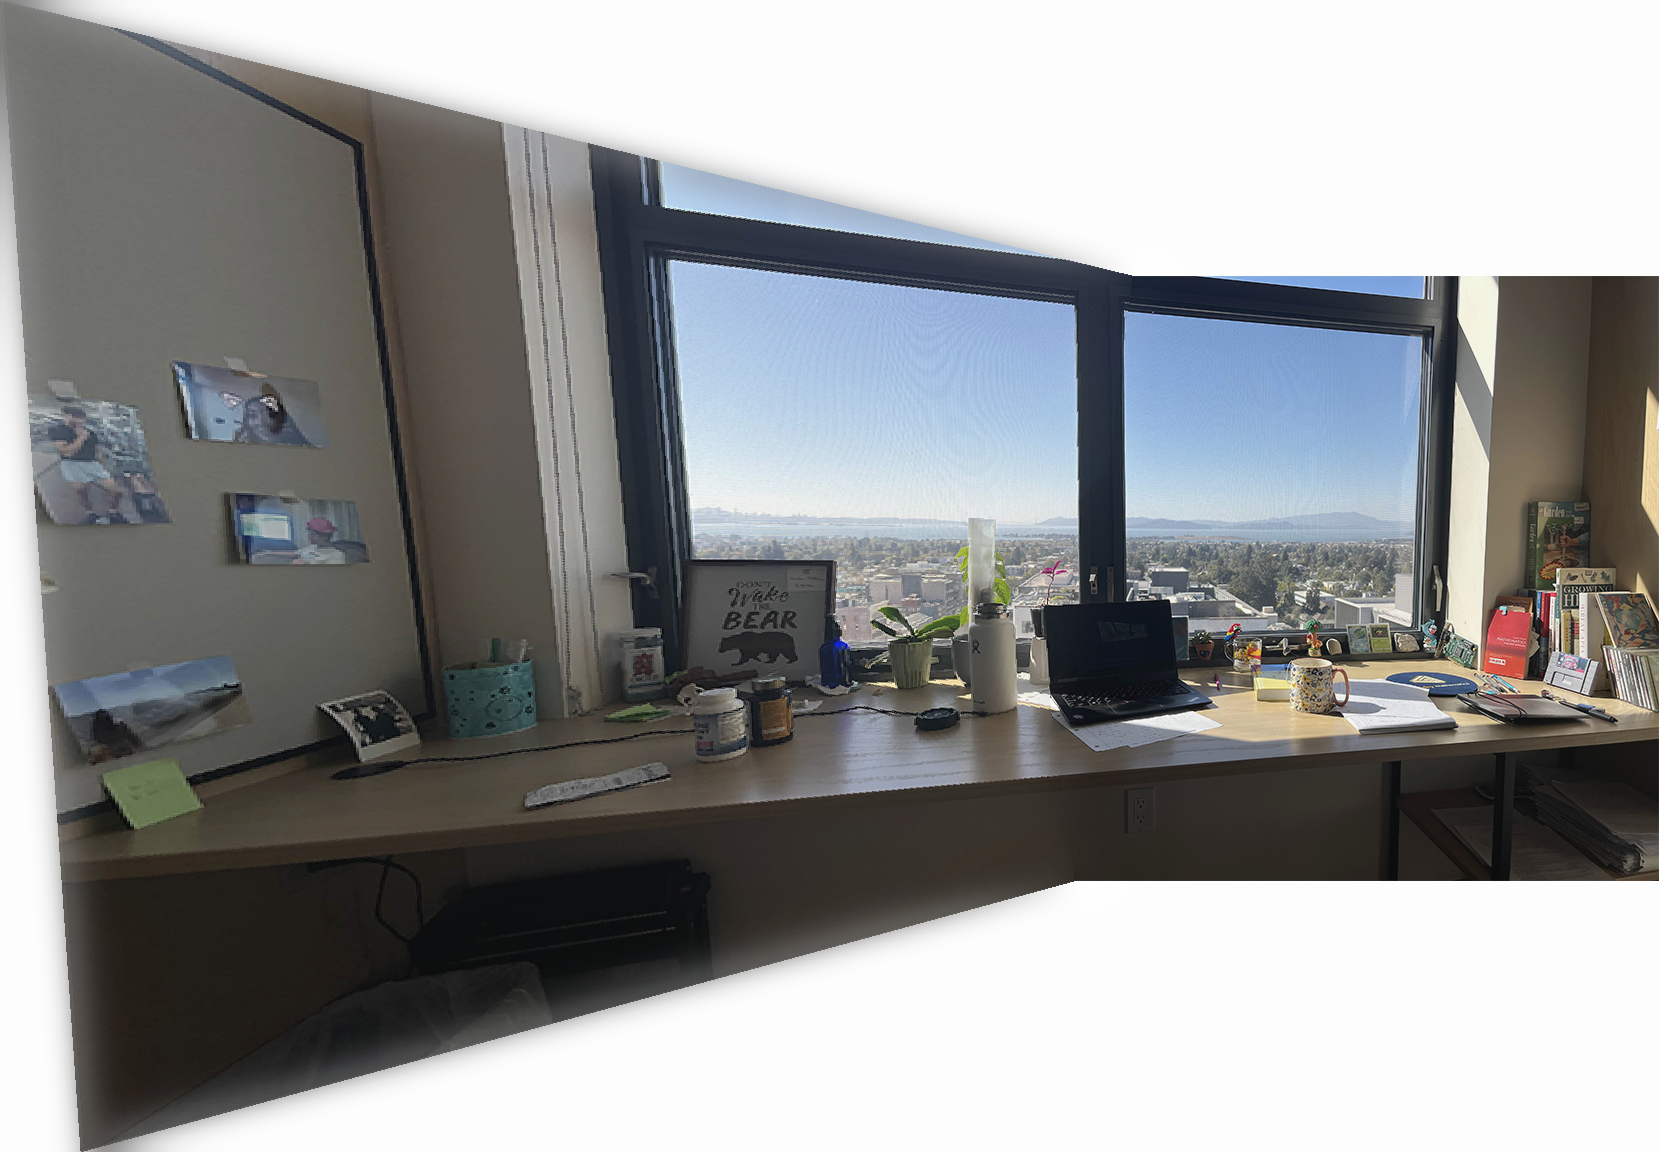
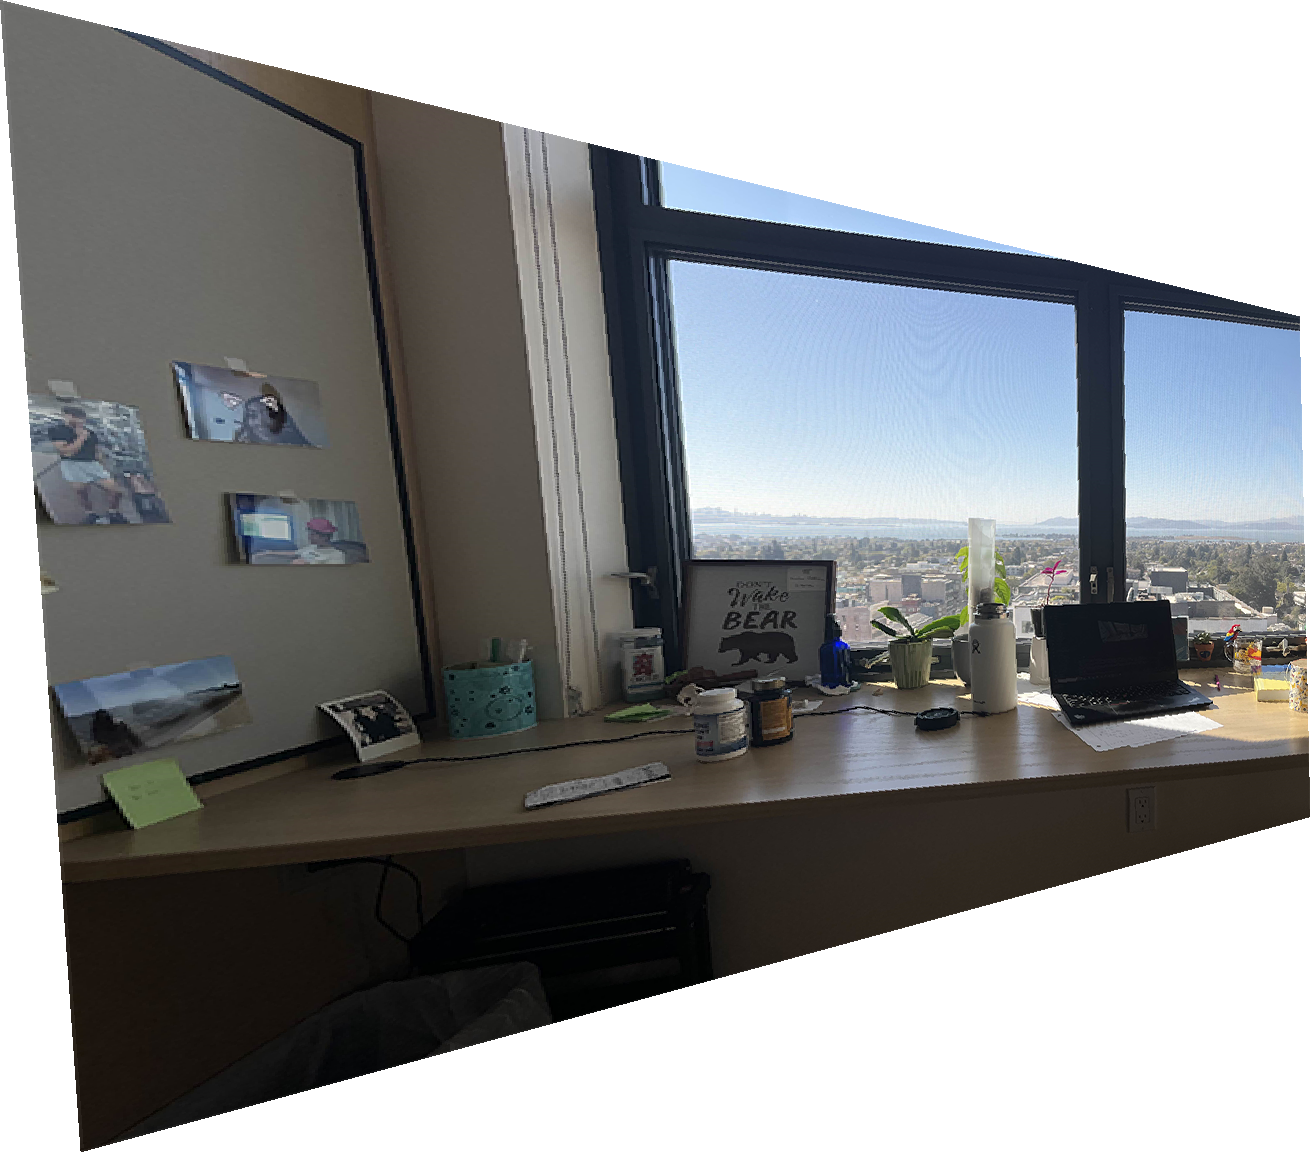
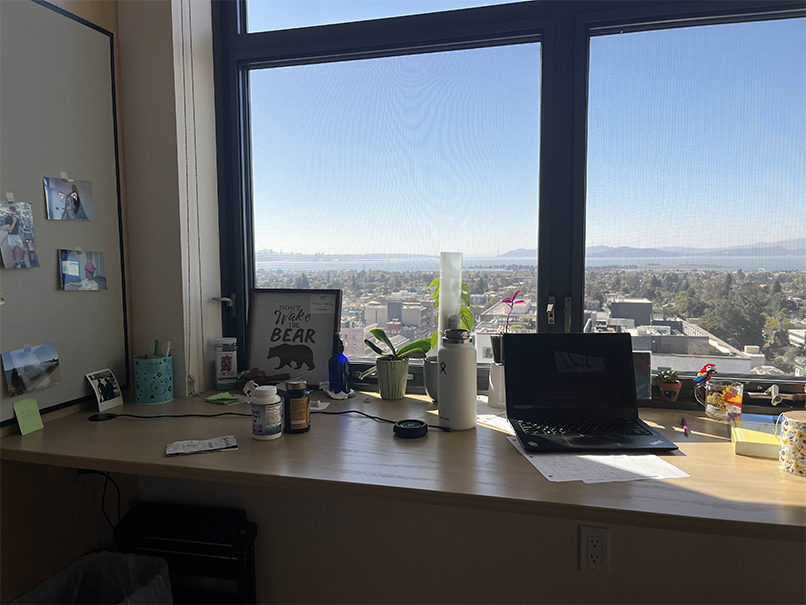
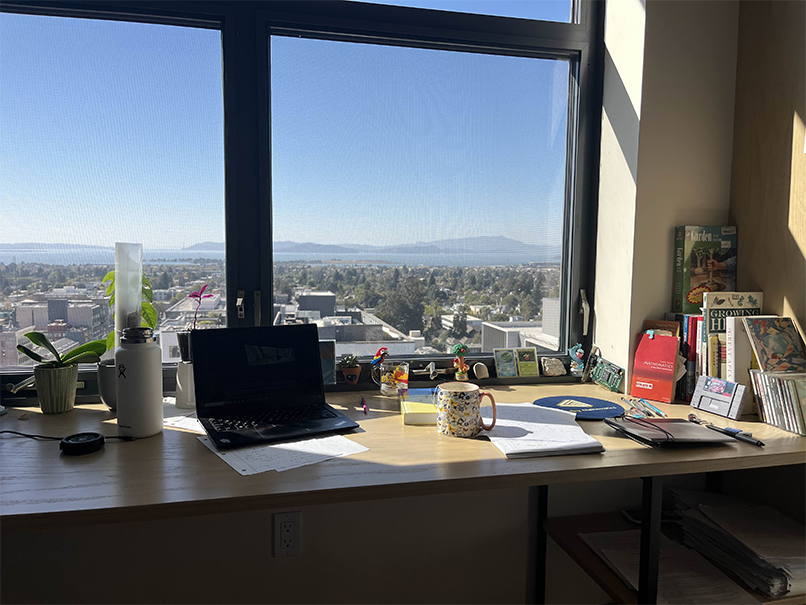
My desk right now