About
Summary: A self-led initiative to learn computer graphics by creating a physically based path tracer from scratch. Beginning with no prior knowledge of ray tracing, a blank SFML window, and a library for linear algebra, everything you see was designed and implemented by yours truly. The journey involved learning and applying complex concepts in optics, material science, and mathematical algorithms. From first principles, I was able to build a physically based path tracer, capable of simulating realistic light behavior to create some stunning renders.
Technical Approach
The project prides itself on being as simple and self-contained as possible. The technical details all lie within the optics, material science, probability, algorithms, and physics/mathematics otherwise at play, in addition to the engineering and design of the project. This approach required a deep understanding of how light interacts with different materials, and how to simulate these interactions using mathematical models. The software design was carefully planned to ensure modularity and flexibility to maximize learning.
Libraries Used
The following C++ libraries were used to keep the project as focused as possible:
- SFML - Used for windowing and handling input. SFML was chosen for its simplicity and ease of use, allowing me to focus on the core rendering techniques without getting bogged down by low-level details.
- GLM - Used for linear algebra and vector mathematics. GLM provided the necessary mathematical tools to implement the geometric and optical calculations required for ray tracing, such as transformations, vector operations, and matrix manipulations.
Challenges
Problem Description
Simply put, I wanted to learn what all the fuss was about with ray tracing. I had been in love with computer graphics and rendering for a while but had never had the chance to poke my head outside of the rasterization pipeline. I had seen beautiful pictures with realistic lighting, created using some mystical rendering techniques, and I wanted to demystify them for myself and create my own pretty pictures. This desire drove me to explore the intricacies of light transport and the mathematics behind realistic image synthesis. The challenge was not just in writing code, but in understanding the fundamental principles that govern how light interacts with surfaces and how these interactions can be simulated computationally.
Design
I tried to foresee as many problems as possible and design around them as far ahead of them as I could. Before writing a single line of C++, I spent tens of hours over the course of two short weeks researching, building a mental model of what a ray tracer is, and conceptualizing as much as I could. This was its own challenge, as I had to fight the temptation to jump the gun and just start laying down code in a tried-and-true trial-and-error method. However, I can say that although I wasn't able to foresee every design decision and implementation detail, building a strong conception of what I was making in my so-called “research phase” was paramount. This phase involved understanding different rendering techniques, how they work, and how they fit together.
Goals
- Simple algorithms and code: I didn’t want to get bogged down by any implementation details
- "Realtime" interactivity: I wanted to be able to fly around in my raytraced world no matter what
- Support for sphere and triangle primitives: I didn't want any fancy stuff, just the basics
- Reflection + Refraction: I wanted these cool effects for my renders
- Global Illumination: I absolutely needed realistic light transport
- Anti-Aliasing: I wanted smooth high quality images
- Modularity for different reflection models: I wanted to easily be able to slot in and try different physical models
- Physical accuracy (physically based materials: metals, dielectrics, emissive materials/area lights): I wanted as much physical realism as possible
- Save performance for another time: I wanted to learn rendering techniques first and foremost
I knew what I wanted and what I didn't want. My goal was to understand rendering, realistic lighting. I wasn’t terribly concerned with performance, algorithmic efficiency, etc. Keeping the scope small and simple made the project rewarding and picking up new things always kept it fresh and exciting. Never a dull moment, even when I was knee deep in the rendering equation, light transport, optics, material science, or anything
To reiterate on performance: Everyone should know the tradeoffs of ray tracing. Ray tracing enables incredibly realistic, detailed, beautiful renders at the cost of being horribly slow. My interest wasn’t in making highly efficient or optimized code, but rather to gain an understanding of the rich rendering fundamentals associated with ray tracing. Being a fan of interactive media and of old school graphics however, I opted to make my ray tracer “real time” in the most naive way possible: making it incredibly low resolution.
Setting Out
Thus, with a list of features, a rigorous design outline, and key algorithms written in high-level pseudocode, I was ready to create my vision of a physically-based path tracer. My goal was to develop it such that it could function both as an offline renderer and a low-resolution/retro-style real-time interactive application. This would allow for high-quality renders and interactive experiences, balancing the needs of both my use cases. With excitement, I set out to begin work on my ray tracer, dreaming of flying around in a from-scratch little ray-tracer world of my own creation.
Psuedo code snippet for the logic underpinning the whole ray tracer:
// renders scene to Image
render(Camera, Scene, Image)
    for pixels in Image
        for rays per pixel
            calculate ray position and direction
            send it out	// traceRay()
        average colors


// cast ray out into scene and trace it
// (taken from Sebastian Lague)
traceRay(Ray, Scene) => Color

    incoming light = none/black (0)	// light going in the camera
    ray color = white (1)

    for max num bounces
        check for intersection	// checkRayIntersection

            if ray hit
                emitted light = surface emission color * surface emission strength
                light strength = dot(surface normal, ray direction)
                incoming light += emitted light * ray color
                color *= material color * light strength

                position ray at intersection
                randomize direction within hemisphere
            else
                incoming light +=  environmental light * ray color
                break

    return incoming light
Procedure
Ray Generation
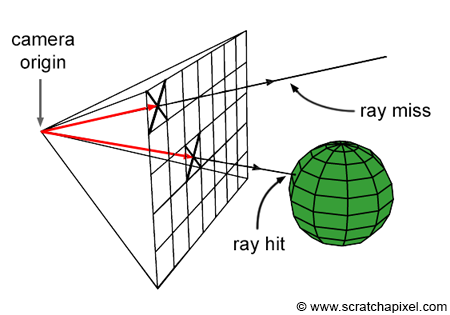
The first thing every ray tracer needs is rays. As very casually laid out above, a raytracer’s function is to create a 2D image by populating a grid of pixels with colors based on the light that falls onto our eye, camera, or light sensor otherwise. Simply put, we compute the color of a pixel by following the path of light which would go through that pixel’s cell in our image plane and enter our camera. By creating a ray with its origin at the position of our camera and directing that ray such that it points in the area within its corresponding pixel cell, we can backwards ray trace the path that light would follow to see/sample the “color” of whatever light is being reflected back at us. Fortunately implementing this is quite easy given familiarity with 3D math. In any case I created a camera to shoot our rays from and voila, rays to trace- ray tracing, I was done.
Ray Sphere Intersection
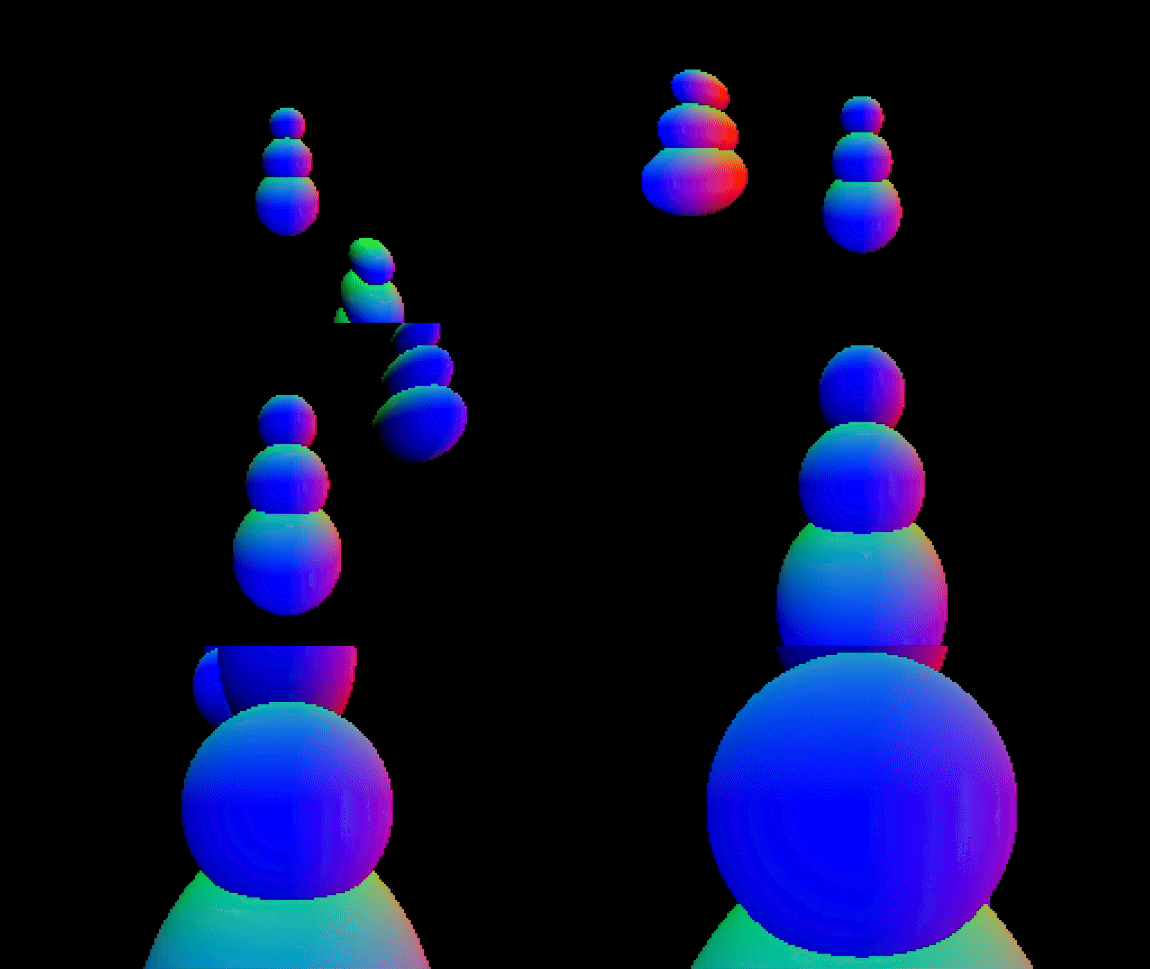
Just kidding, really the first unique challenge of making a raytracer is checking for the intersection of a ray and a geometric primitive, in this classic case: spheres. This is necessary because you need to know if and how light rays interact with the surfaces of the geometry in your 3D scenes. Fortunately the problem of checking for ray sphere intersection is very doable. There is some fascinatingly intuitive and beautiful geometric mathematics behind the ray-sphere intersection algorithm. It took me a few hours to derive, visualize, understand, and fully appreciate, but once I did I was a happy man seeing some normal shading.
Object Representation
Objects in a 3D scene are represented as a set of geometric primitives and can be instanced and transformed however we please. Wanting clean and modular code to support my whole 2 target primitives, I needed to create an abstraction and use some polymorphism to have each primitive implement its own ray intersection method. Doing this would make it such that, as far as an object was concerned, the geometric primitives it was composed of didn’t matter and could be mixed and matched freely.
struct Geometry
{
    // world space transformations
    glm::vec3 position{ 0.f };
    float scale{ 1.f };
    glm::mat4 rotation{ 1.f };
    std::vector<std::shared_ptr<Primitive>> primitives;

    template<typename PrimitiveType>
    void add(const PrimitiveType& p)
    {
        primitives.emplace_back(std::make_shared<PrimitiveType>(p));
    }
};

struct Scene
{
    std::vector<Geometry> geometry;

    void add(Geometry& object)
    {
        geometry.emplace_back(object);
    }
};
This is the C++ that accomplished that for me. The code is far from efficient but it’s simple and works and that’s what mattered to me here.
Controllable Camera
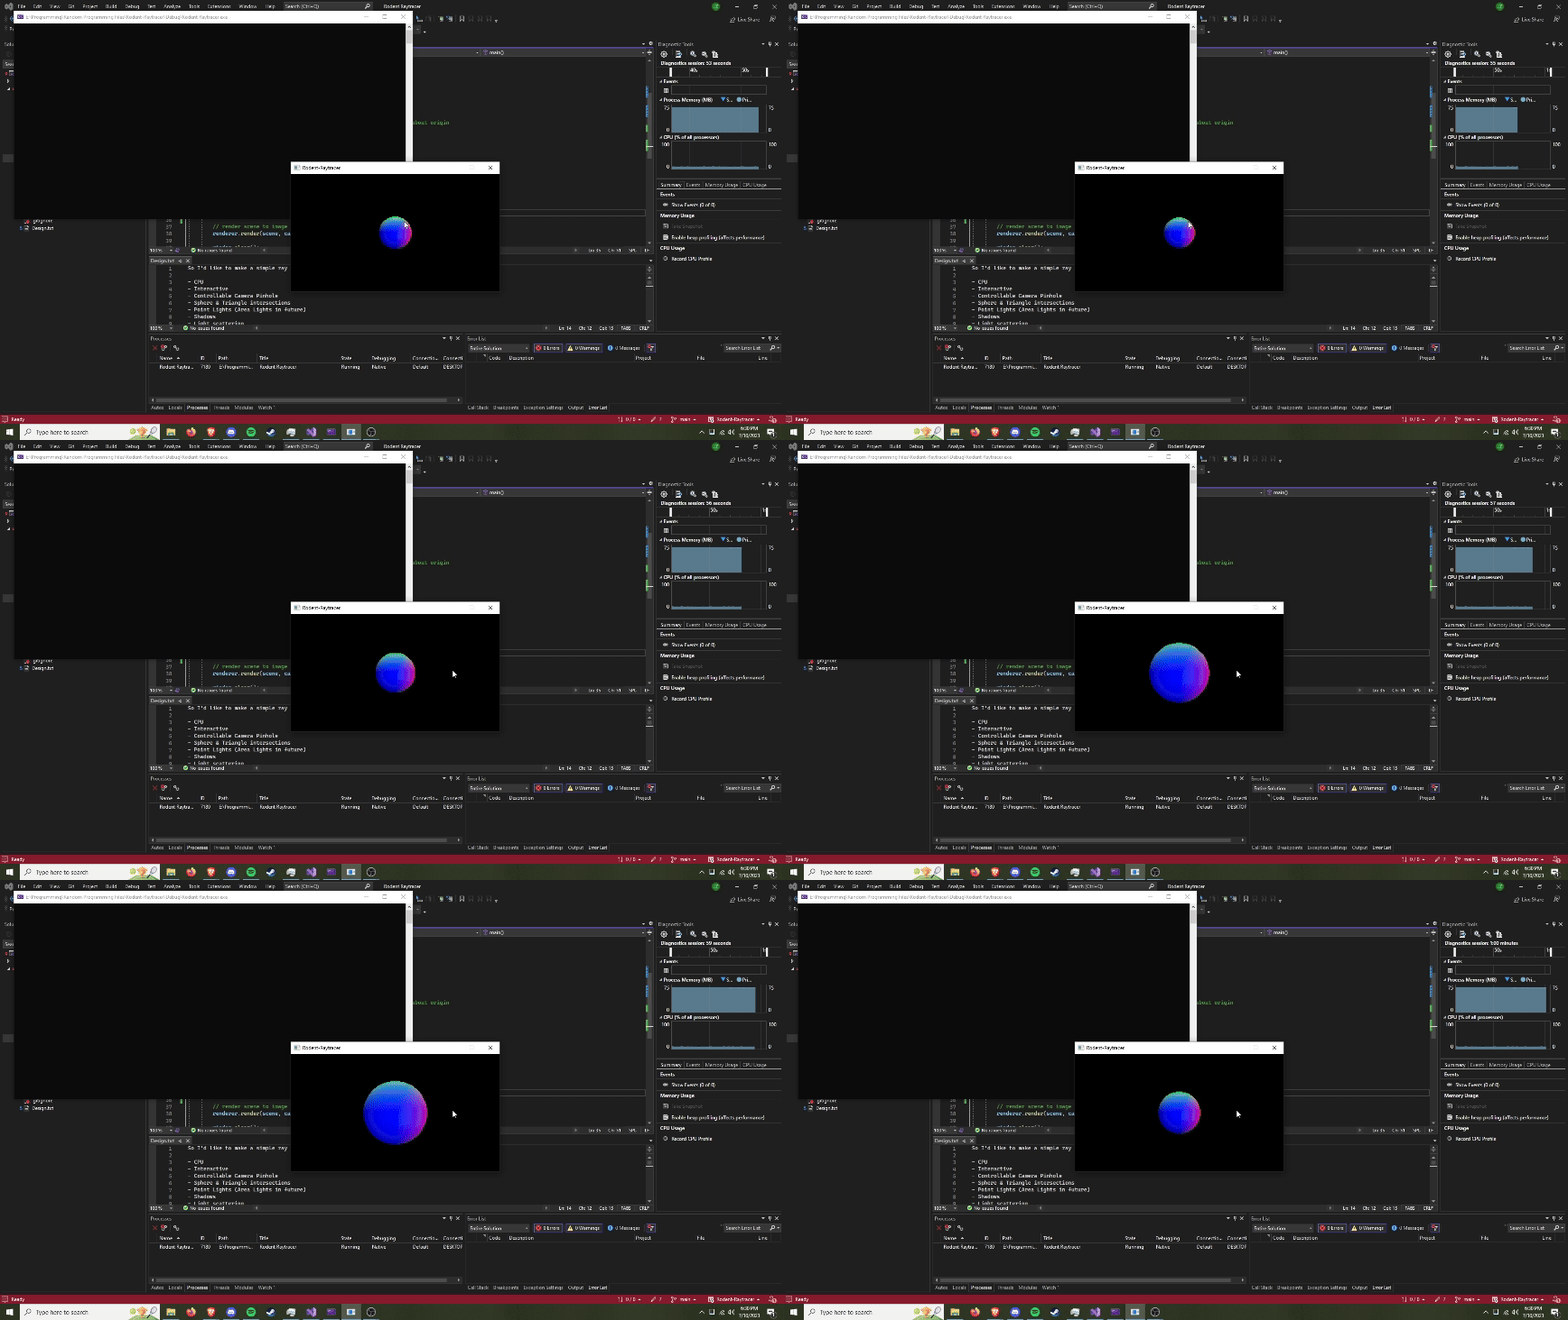
As soon as I had a working camera and was performing ray intersection checks correctly, I instantly jumped to add WASD + mouse controls to the camera. Obviously this would help me debug, but more importantly it gave me lots of fun and excitement being able to fly around in my from-scratch little ray tracer world. Who doesn’t love flying around in a little virtual world?
Perfect Reflection + Environmental Light
With a controllable camera and ray-geometry intersection logic in place, the foundational elements of the ray tracer were effectively complete. The next steps involved implementing shading and lighting models to give the scene realistic visual properties. Initially, the color of an object's surface was determined solely by its albedo, with no consideration for lighting. However, in reality, the color and appearance of a surface are influenced by light interacting with it, reflecting off the surface, and ultimately reaching the observer.
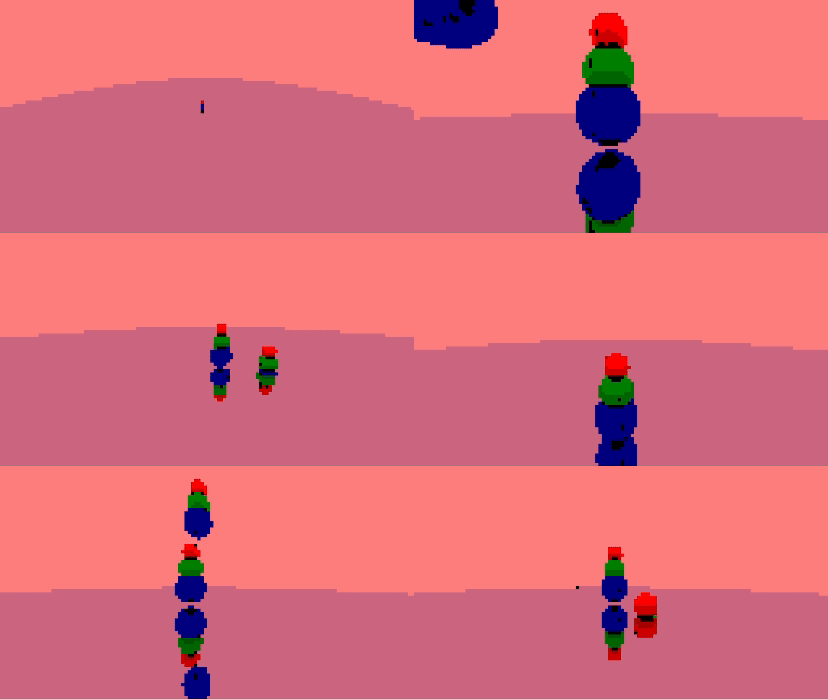
Since no explicit light sources had been added to the scene yet, I needed an alternative way to simulate illumination. This led to the incorporation of environmental lighting, conceptualized as light coming from the sky or the background environment. I initially implemented a simple constant orange light as the environment, serving as a basic placeholder. This allowed me to test reflections and basic light interactions in the scene before integrating more sophisticated and physically accurate lighting models. The environmental lighting not only provided a minimalistic light source but also ensured that surfaces in the scene had some form of illumination, which was crucial for testing and refining the reflection model.
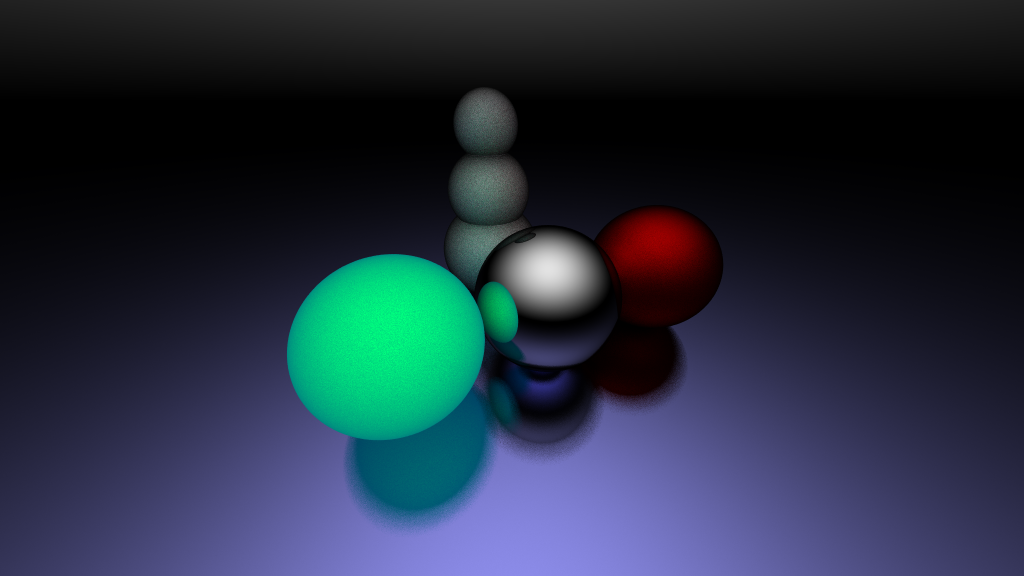
With this basic light in place, I could now perform simple shading calculations. To enhance the realism, I implemented perfect mirror-like reflection, allowing rays to bounce off surfaces rather than terminating at the first point of intersection. This gave us that classic 90s ray tracer aesthetic where everything is super reflective. Sick.
BRDFs and Path Tracing
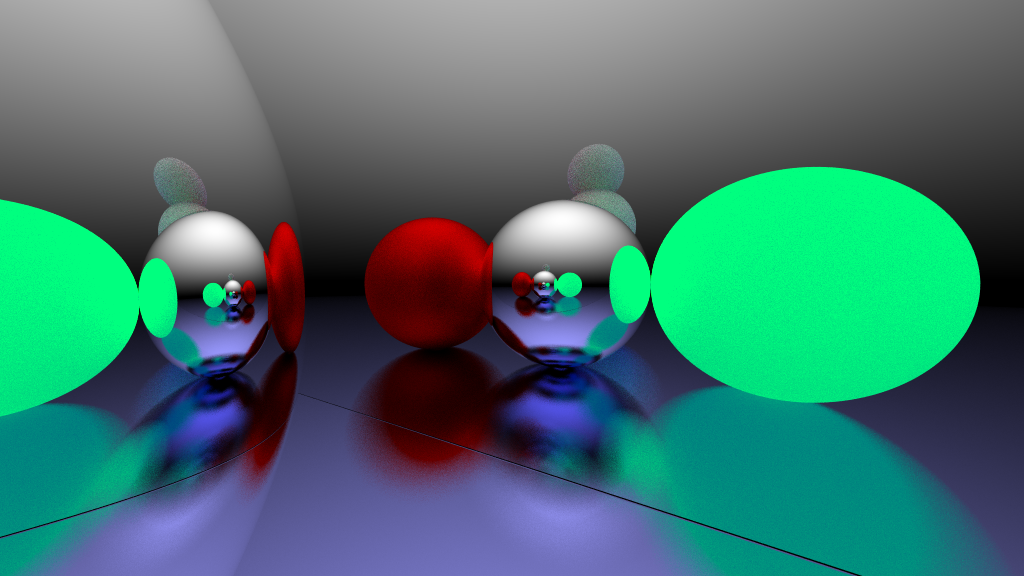
“Rodent Ray Tracer” has now outlived its name. Since not every material in the real world is perfectly reflective and instead can bounce in almost any random direction, it's time to get probabilistic- it’s time to pathtrace. I implemented the famous diffuse Lambertian BRDF, which models perfectly diffuse surfaces.
The idea behind the Lambertian model is that perfectly diffuse materials reflect light in uniformly random directions about the hemisphere of the surface normal. Something silly but which was really memorable and stimulating for me was trying to come up with my own way to implement a function to generate a random vector on a unit hemisphere. I'm not very good at math so it took me quite some time to work out for myself, but I came up with the following solution which I’m still proud of.
glm::vec3 Math::randomHemisphereDir(unsigned rngSeed, const glm::vec3& dir)
{
	// take random direction in on a sphere (here my distribution isn't uniform :P)
	// todo: make uniform distribution
	const glm::vec3 randDirection{
		glm::normalize((randomVec3(rngSeed) * 2.f) - 1.f )
	};

	const bool inWrongHemisphere{ glm::dot(randDirection, dir) < 0 };

	// if the random direction is in the wrong hemisphere
	if (inWrongHemisphere)
		return -randDirection;	// flip it to the other hemisphere

	// otherwise its fine
	return randDirection;
}
This time it is performant but isn’t mathematically perfect. I’ve yet to tie this loose end of making the direction distribution fully uniform, but for my little passion project, it was good enough.
More importantly and more excitingly, I got to implement my solution to the rendering equation
glm::vec3 Renderer::evaluateLightPath(const Ray& primary, const std::vector& hits)
{
    glm::vec3 incomingLight{ 0 };

	// if ray bounced off a surface and never hit anything after
	const bool reachedEnvironment{ hits.size() < MAX_NUM_BOUNCES };

	// if primary ray hits nothing, use that as environment bound vector
	const glm::vec3 environmentDir{
            hits.empty() ? primary.dir : hits.back().outgoingDir
        };

	if (reachedEnvironment)
		incomingLight += environmentalLight(environmentDir);

	// reverse iterate from the start of a path of light
	for (int i = hits.size()-1; i >= 0; i--)
	{
		const Intersection& hit{ hits[i] };

		// light emitted from hit surface
		const glm::vec3 emittedLight{
			hit.material.emissionColor * hit.material.emissionStrength
		};

		// cos(theta) term
		const float lightStrength{
			glm::max(0.f, glm::dot(hit.normal, -hit.incidentDir))
		};

		// basically the rendering equation
		incomingLight = emittedLight + Math::BRDF(hit) * incomingLight * lightStrength;
	}

	return incomingLight;
}
Refraction
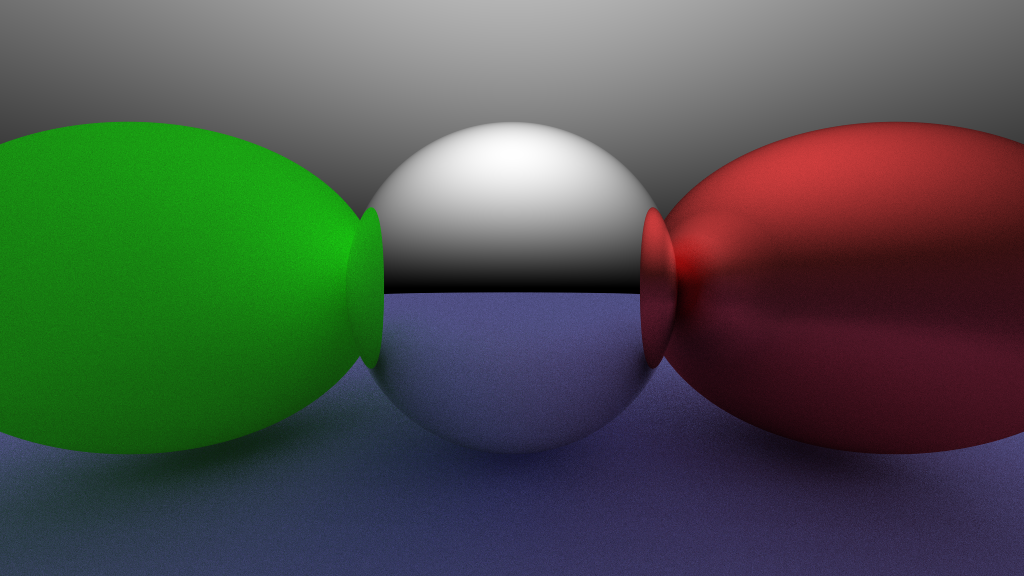
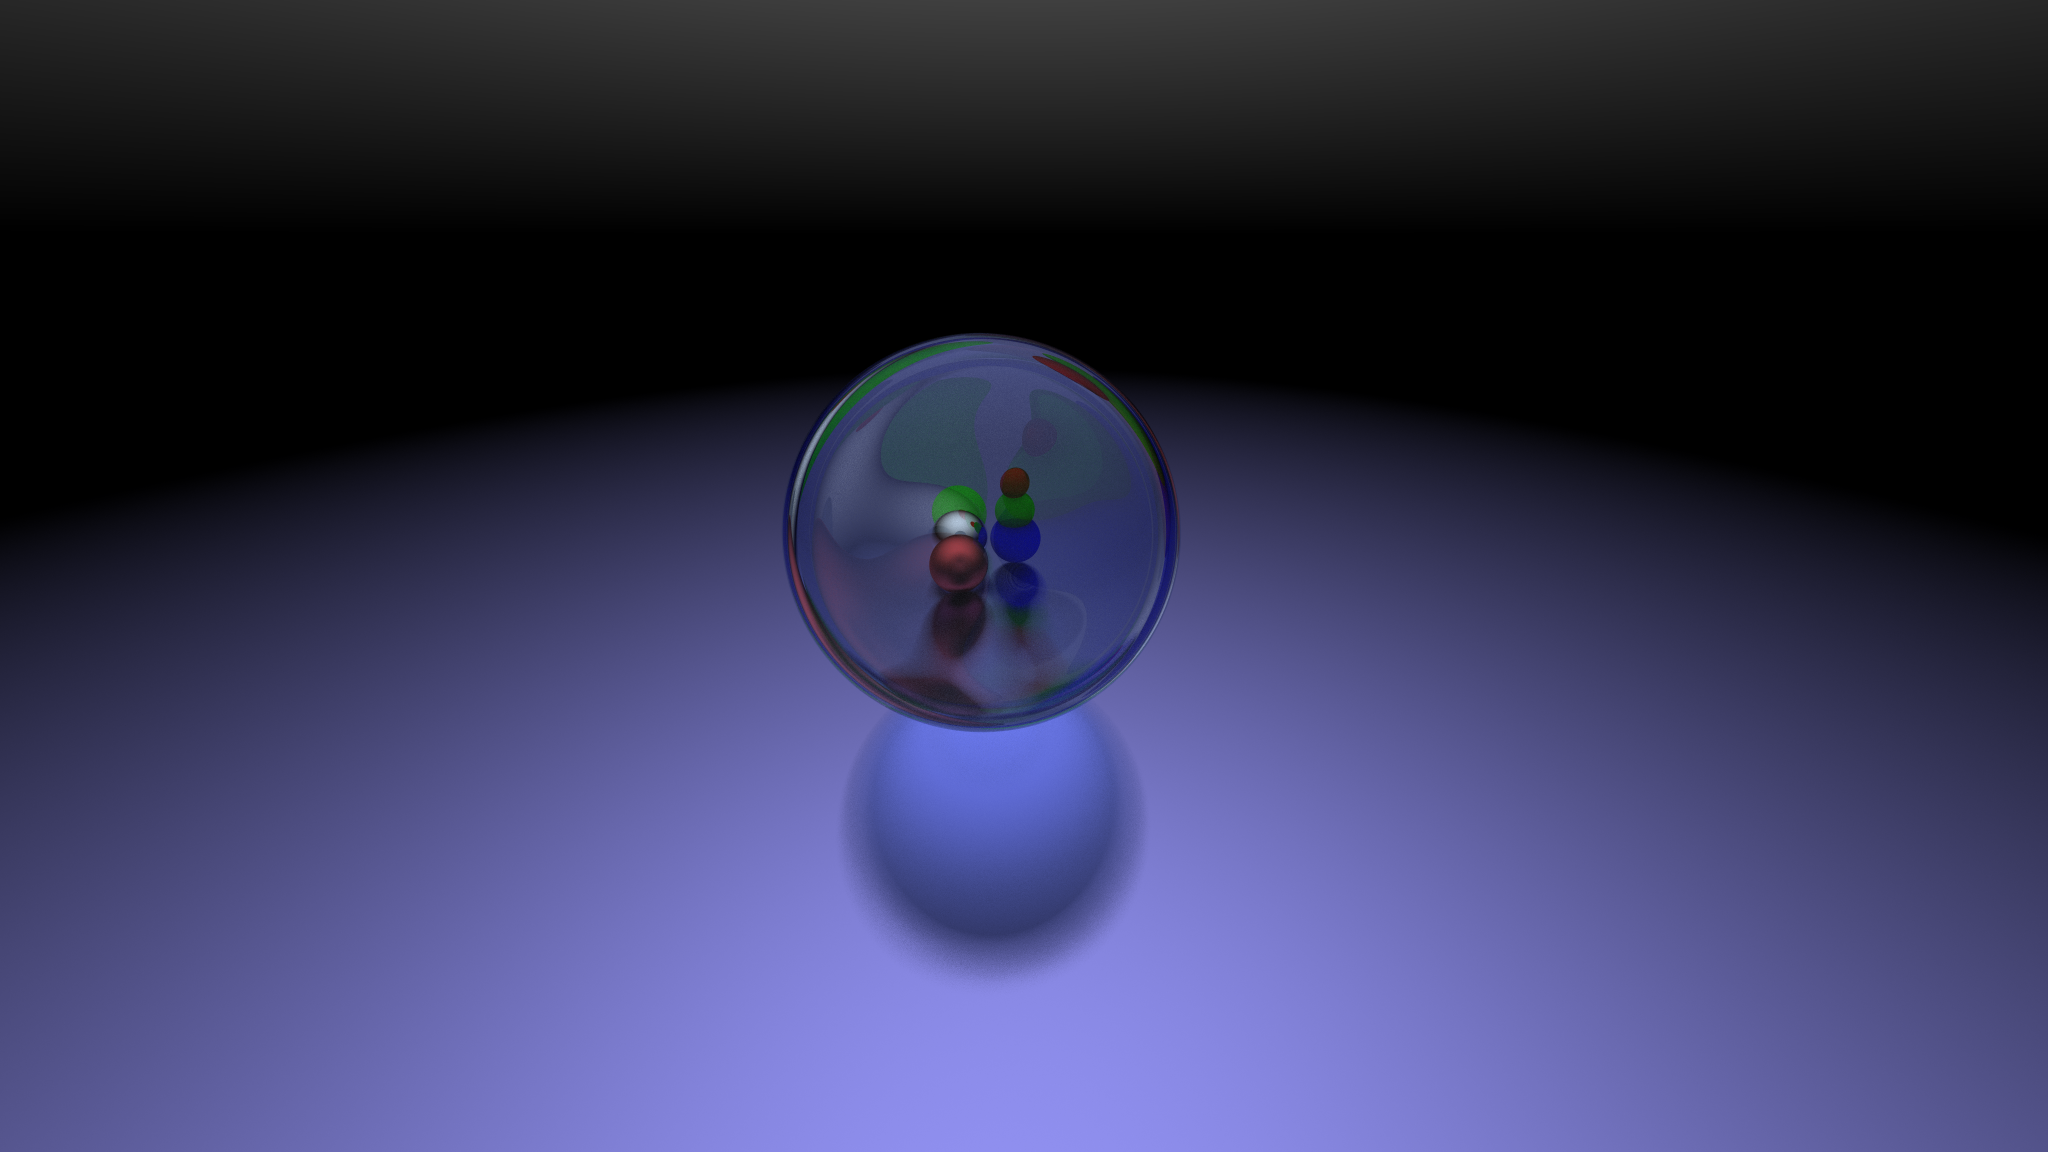
One of the most inspirational renders I’ve ever seen were those of clear gemstones. The way they refracted light in such intricate yet geometric ways just made my jaw drop, so I knew I wanted that in my own ray tracer. To achieve this, I delved deeper into optics, studying and implementing Snell's law to model how light bends when passing through different materials. I also incorporated the Fresnel effect, using Schlick's approximation to estimate how much light is reflected versus refracted at the interface, depending on the angle of incidence. Additionally, I implemented total internal reflection to accurately simulate cases where light is completely reflected within a material. Learning about the physics of light was great stuff and the techniques enabled me to produce renders like this one.
Physically Based Rendering
At this point, I was happy with my path tracer, but I was just absolutely falling in love with the underlying physics. I knew I wanted more realism and physical accuracy in my renders, so what better way than to explore and implement the principles of physically based rendering (PBR). PBR aims to simulate the behavior of light in a way that adheres closely to the laws of physics, ensuring that materials in the scene look as realistic as possible under various lighting conditions. Down the rabbit hole I went, studying and implementing physically accurate materials, namely metals and dielectrics, and the ways in which light interacts with them.
Here I got to look into the microfacet model, the representation of how light reflects off surfaces on the microscopic scale. I got to study Normal Distribution Functions (NDFs) and implement Trowbridge-Reitz GGX to model the distribution of microfacets on a surface. I also got to do the same for Geometry Attenuation Functions (GAFs) and Schlick-GGX, to model the way light is occluded/shadowed on these microfacets. Thus putting these NDF, GSF alphabet soup together (D*G*F), out came the Cook-Torrance BRDF, a robust model that combines specular reflection with microfacet theory to produce physically based shading.
Not that I'm expecting anyone to get as excited about this as me, but I thought this stuff was the coolest!!
Achievements
This project taught me that if I wanted to do something, I could. Driven by passion, and with no prior knowledge of ray tracing, I created my own physically based path tracer from scratch in just about a month. I encountered algorithms, mathematical concepts, and physics that were initially incomprehensible to me. I don’t consider myself the best student or the most academically inclined. I struggled, and I worked to understand these concepts until I could implement them. I persevered, and I learned entirely on my own. I didn’t need to be scared of difficult concepts because I didn’t need a classroom or anyone but myself to learn. I achieved my dream of making a ray tracer by my own volition. I gained the confidence to know that I can accomplish anything when I apply myself.
Renders
Extras
My Story
7/8/23 - 8/1023. This was done during the summer between transferring to Berkeley, in the last month of the break.
Having worked my butt off the previous school year and getting accepted to transfer to Berkeley, I was making the most of my free time—enjoying life, working out, and hanging out with friends. One of the things I was most excited about at Berkeley was the opportunity to take their computer graphics class, CS 184. With around 3-4 weeks of summer left, I had an epiphany: “Why wait to learn computer graphics at Berkeley if I can just learn it now?” The idea excited me so much that I was set on making a ray tracer from scratch then and there.
In about a week, I had a ray tracer! I was overjoyed with the beauty, simplicity, and power of ray tracing. Since I had met all of my initial goals, I wanted more! I needed to add support for refraction and make it physically based! Fortunately, having gained an appreciation for physics the past year, it was a pleasure to study the physics—namely optics and material science—behind physically based rendering. Studying these topics just made me wish I had been able to take more physics classes in school (I had only gotten a chance to take mechanics and electromagnetism).
Regardless, I threw myself into the deep end for the next week. I would literally be thinking about transmissive materials, dielectrics, Snell's law, BRDFs, and the rendering equation while at the gym with my friends. I couldn’t stop talking about how excited I was about my path tracer project. I would discuss it with all of my friends who knew anything about math or physics and probe them on how they thought about various ideas related to path tracing, from probability to optics.
This was some of the most fun I’ve ever had creating anything. More than just making a physically based path tracer from scratch, I gained a huge appreciation for physics, math, and computer science, as that project was a beautiful culmination of all three subjects. Simply put, the more you know about any of the three, the better a ray tracer you can make. I kept working on the ray tracer until the day I moved out to Berkeley, and even before then, I was already planning how I could make a second ray tracer that would be 100x better.
Final Thoughts
Hey, if you managed to read all of this or even just make it this far, thank you! I hope you've enjoyed either my words or renders. I sincerely mean it. This page is an amalgamation of a technical report, blog post, silly informal incoherent rant, and my personal story. I hope I was able to convey what this project means to me and what fun I had making it.
Again, thank you.
